
Vercel released Next.js 13 at the end of October 2022, which was quite a big thing in frontend development. One of its biggest feature is the app directory for routing. I decided to try it out, so I built a full stack web application for taking language notes, with Next.js 13 + Tailwind + DaisyUI + PocketBase + AWS SES. In this post I will give you an introduction to this application.
New! The app is now equipped with AI writing assistant, powered by OpenAI’s API.
Create an account and try all the features now on https://beenote.app !
💻Project repository: https://github.com/lifeitech/beenote/
When I left Italy in 2020 after graduation, I also left my Italian language notes behind in my dormitory, because my luggage was too full, and I couldn’t find any room for those notebooks and prints. I wish I could conveniently store my language notes on some server so that I never have to worry about physical relocations. That’s part of the motivation for me to build this language note app. There are already many apps out there for taking notes, including markdown editors like Typora and MarkText, but notes for language learning require special structures. And as your files grow, it is difficult to keep track of them on your computer. I find it’s better to store all of your notes in one place (app), online, rather than locally.
Now let me show you different pages of this app.
Walkthrough of the Application
Signup and Login
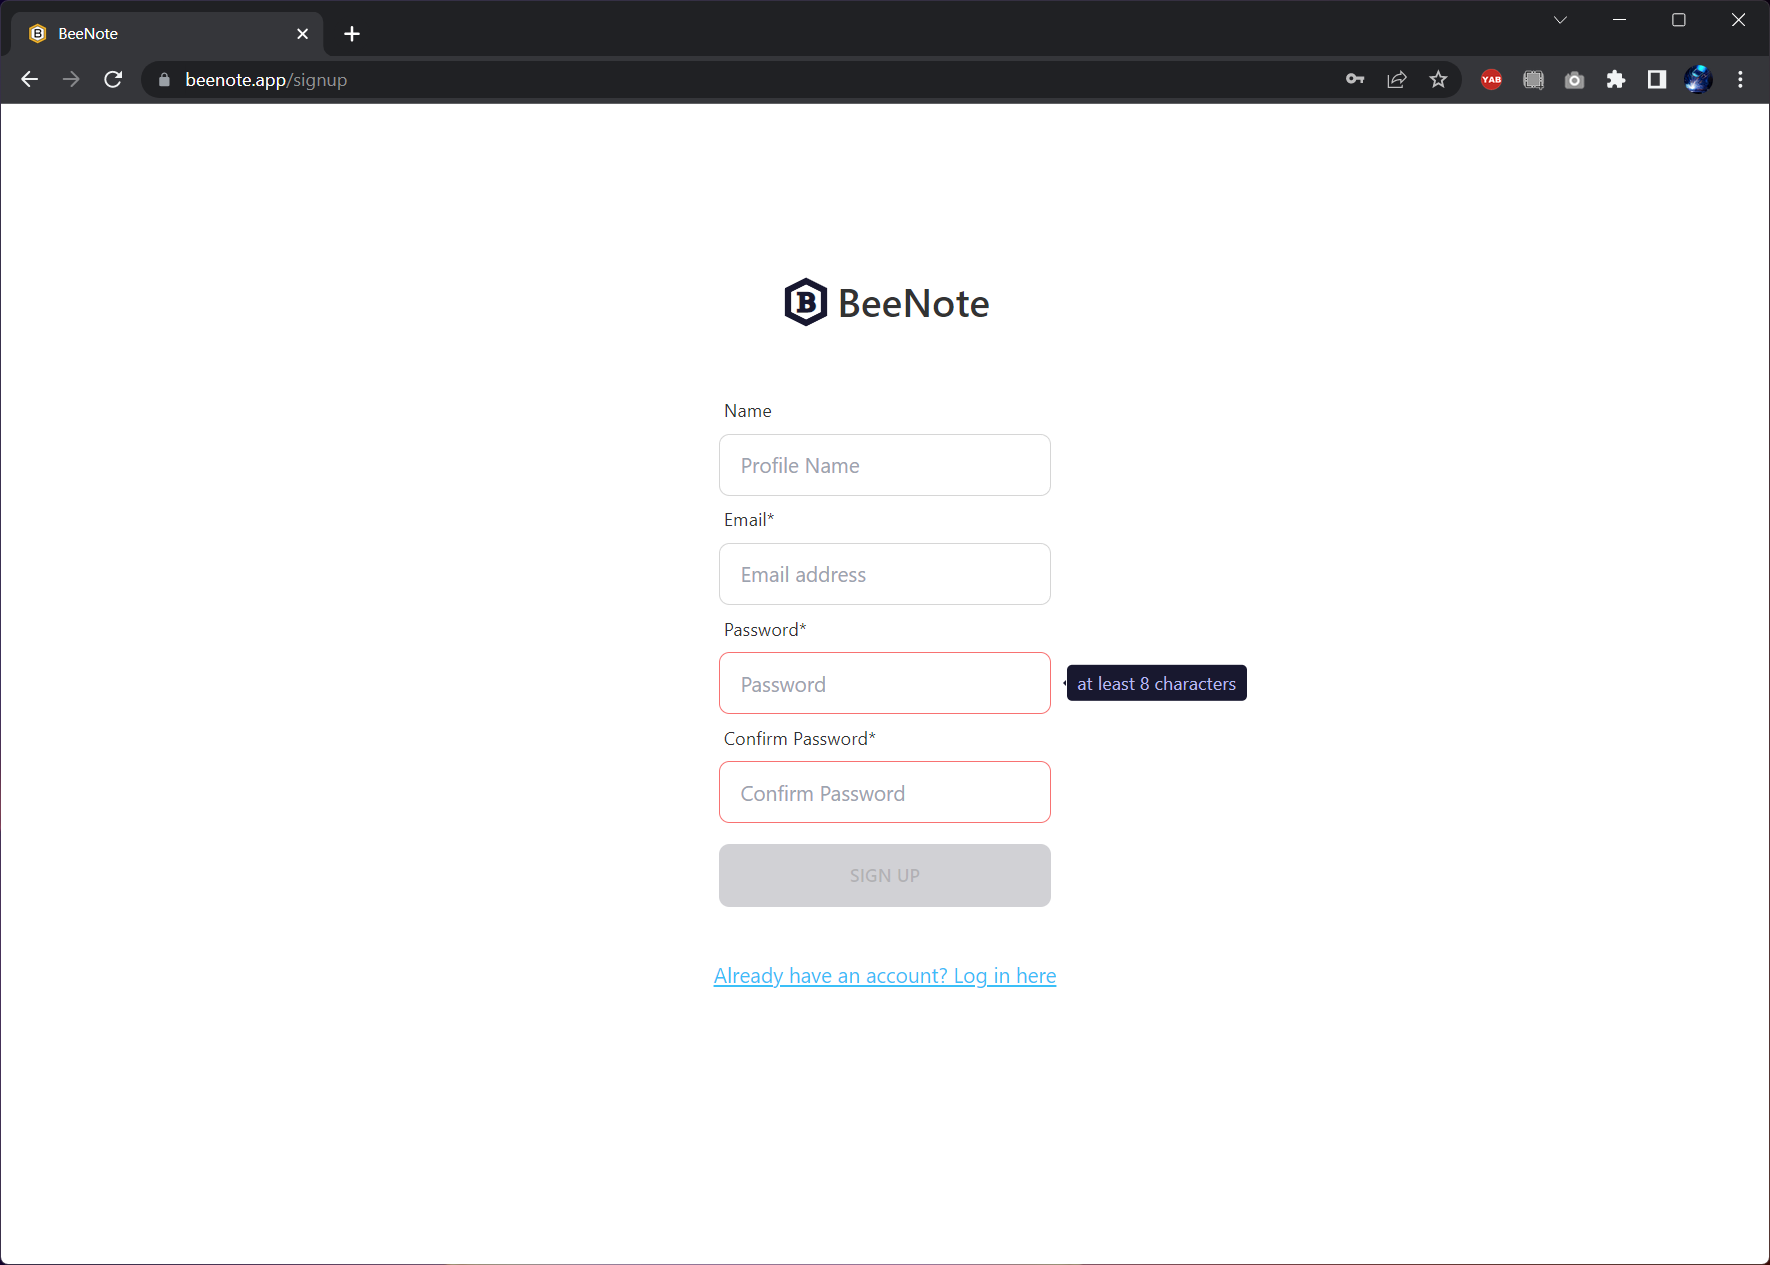
First, create an account at the signup page. On this page, there are email and password input validations, implemented with React’s useState hook. If the email input follows the pattern xxx@xxx.xxx, then a check icon will appear near the input field. For password, input borders will be red, sign-up button will be disabled, unless two conditions are met: first, password is at least 8 characters, and second, confirm password is the same as password input.
After created an account, you can login at the login page. 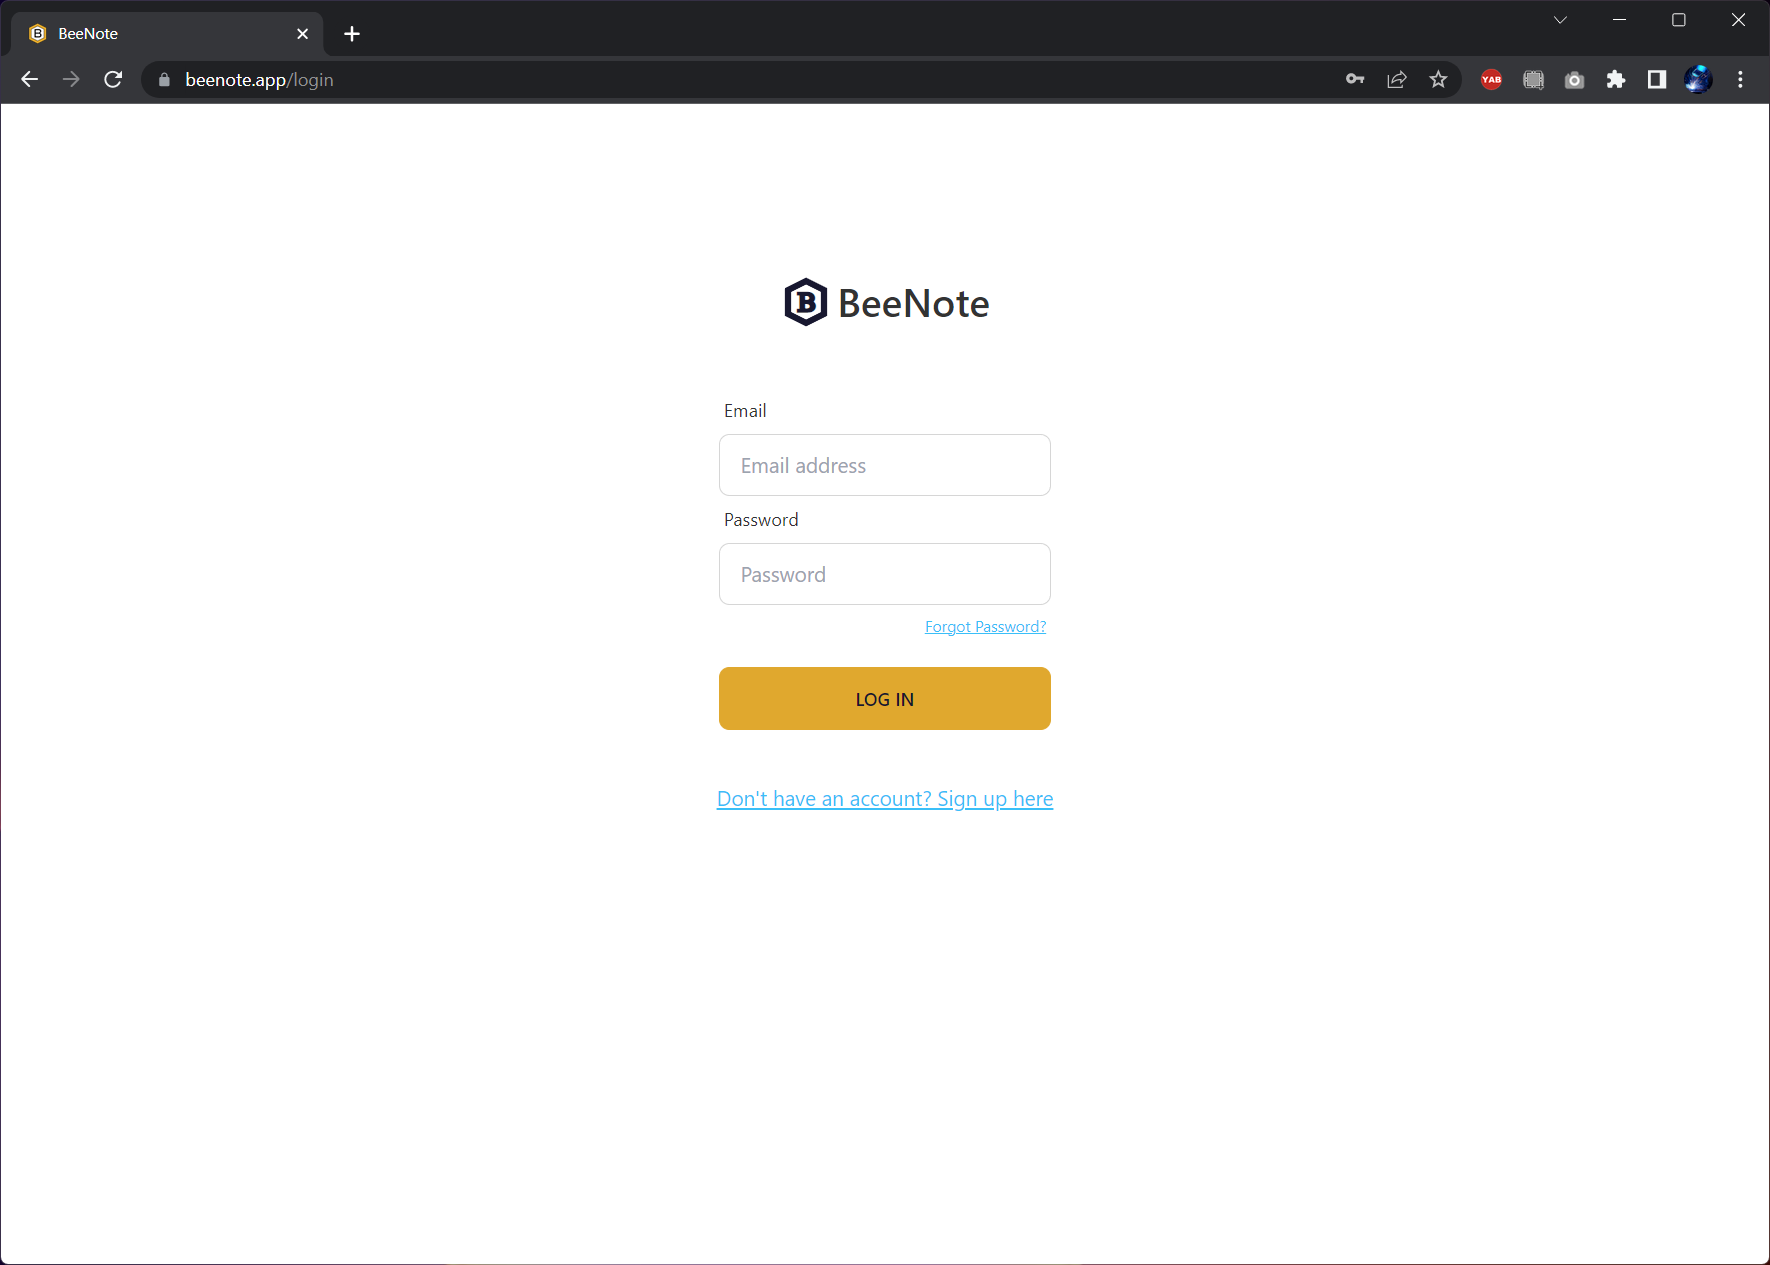
app/login/page.tsx
Create Language Notebook
After login, language notebooks that you have created will be listed. Below is the UI for dark mode.
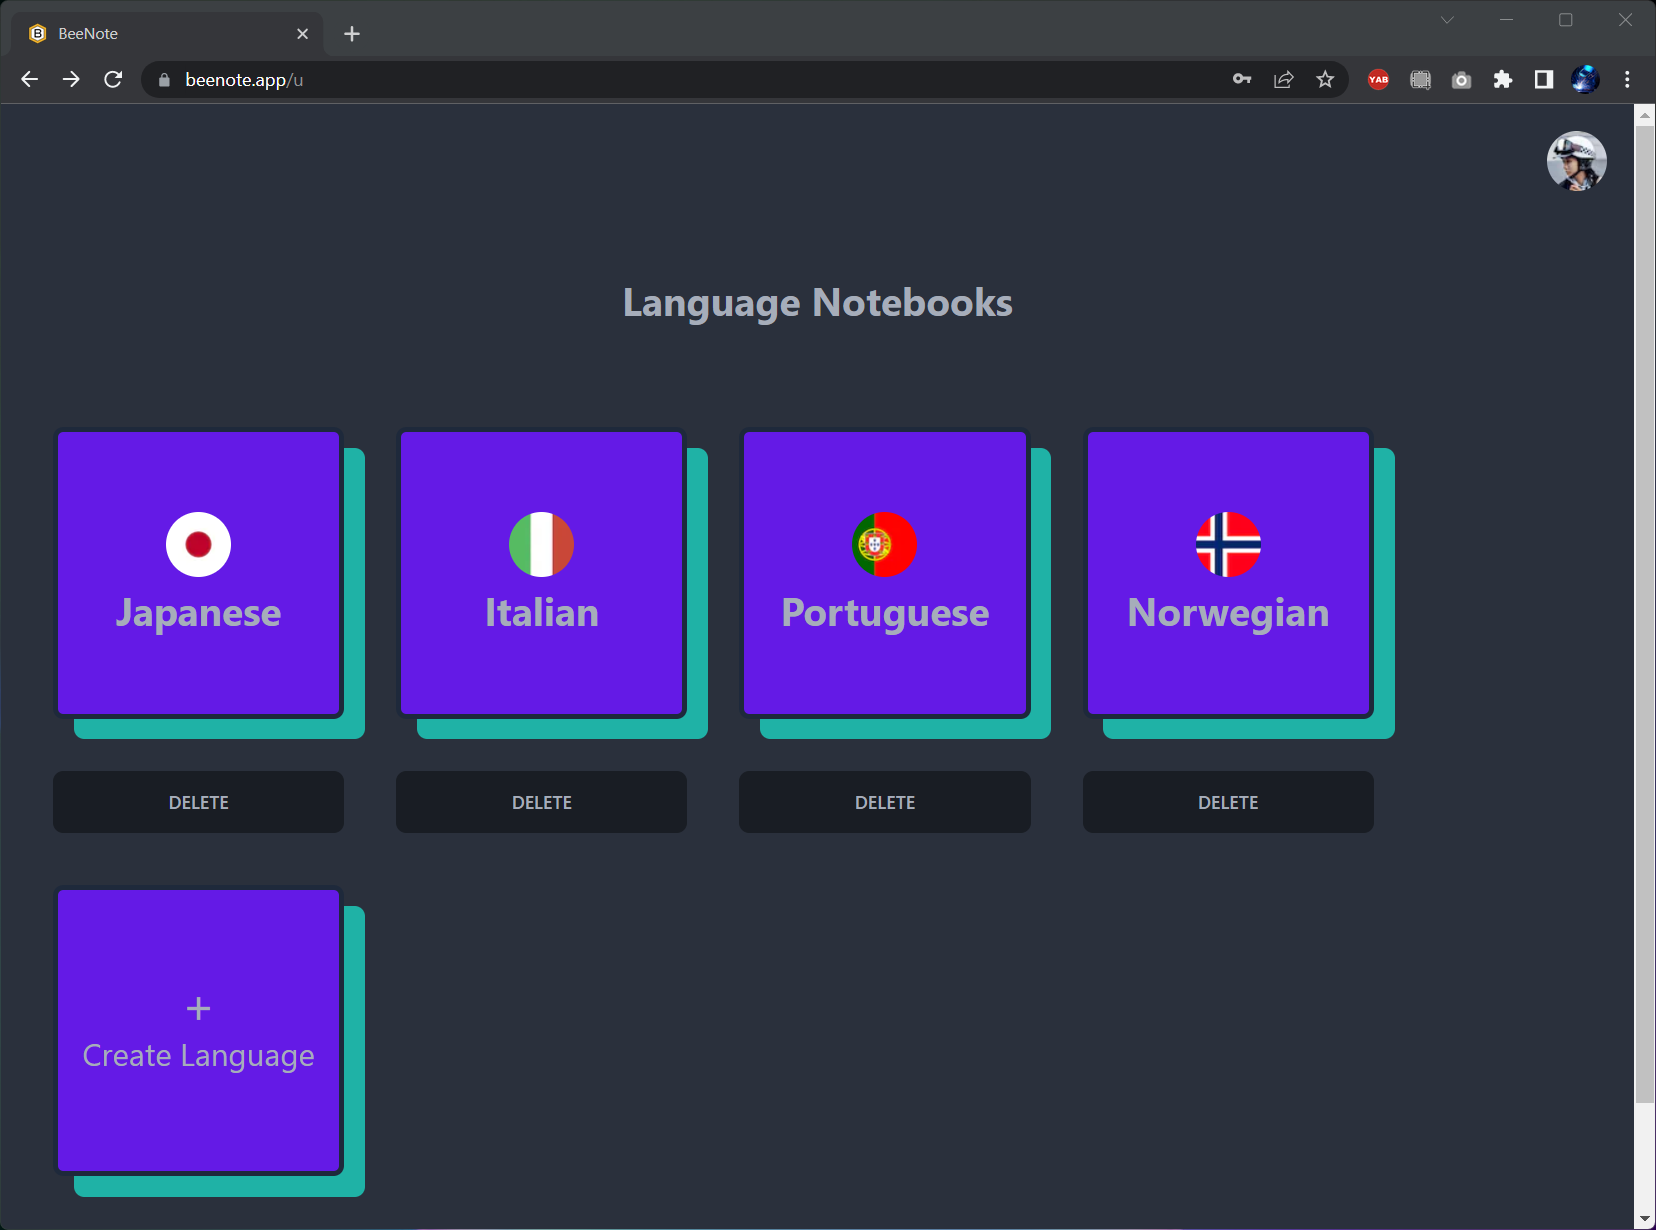
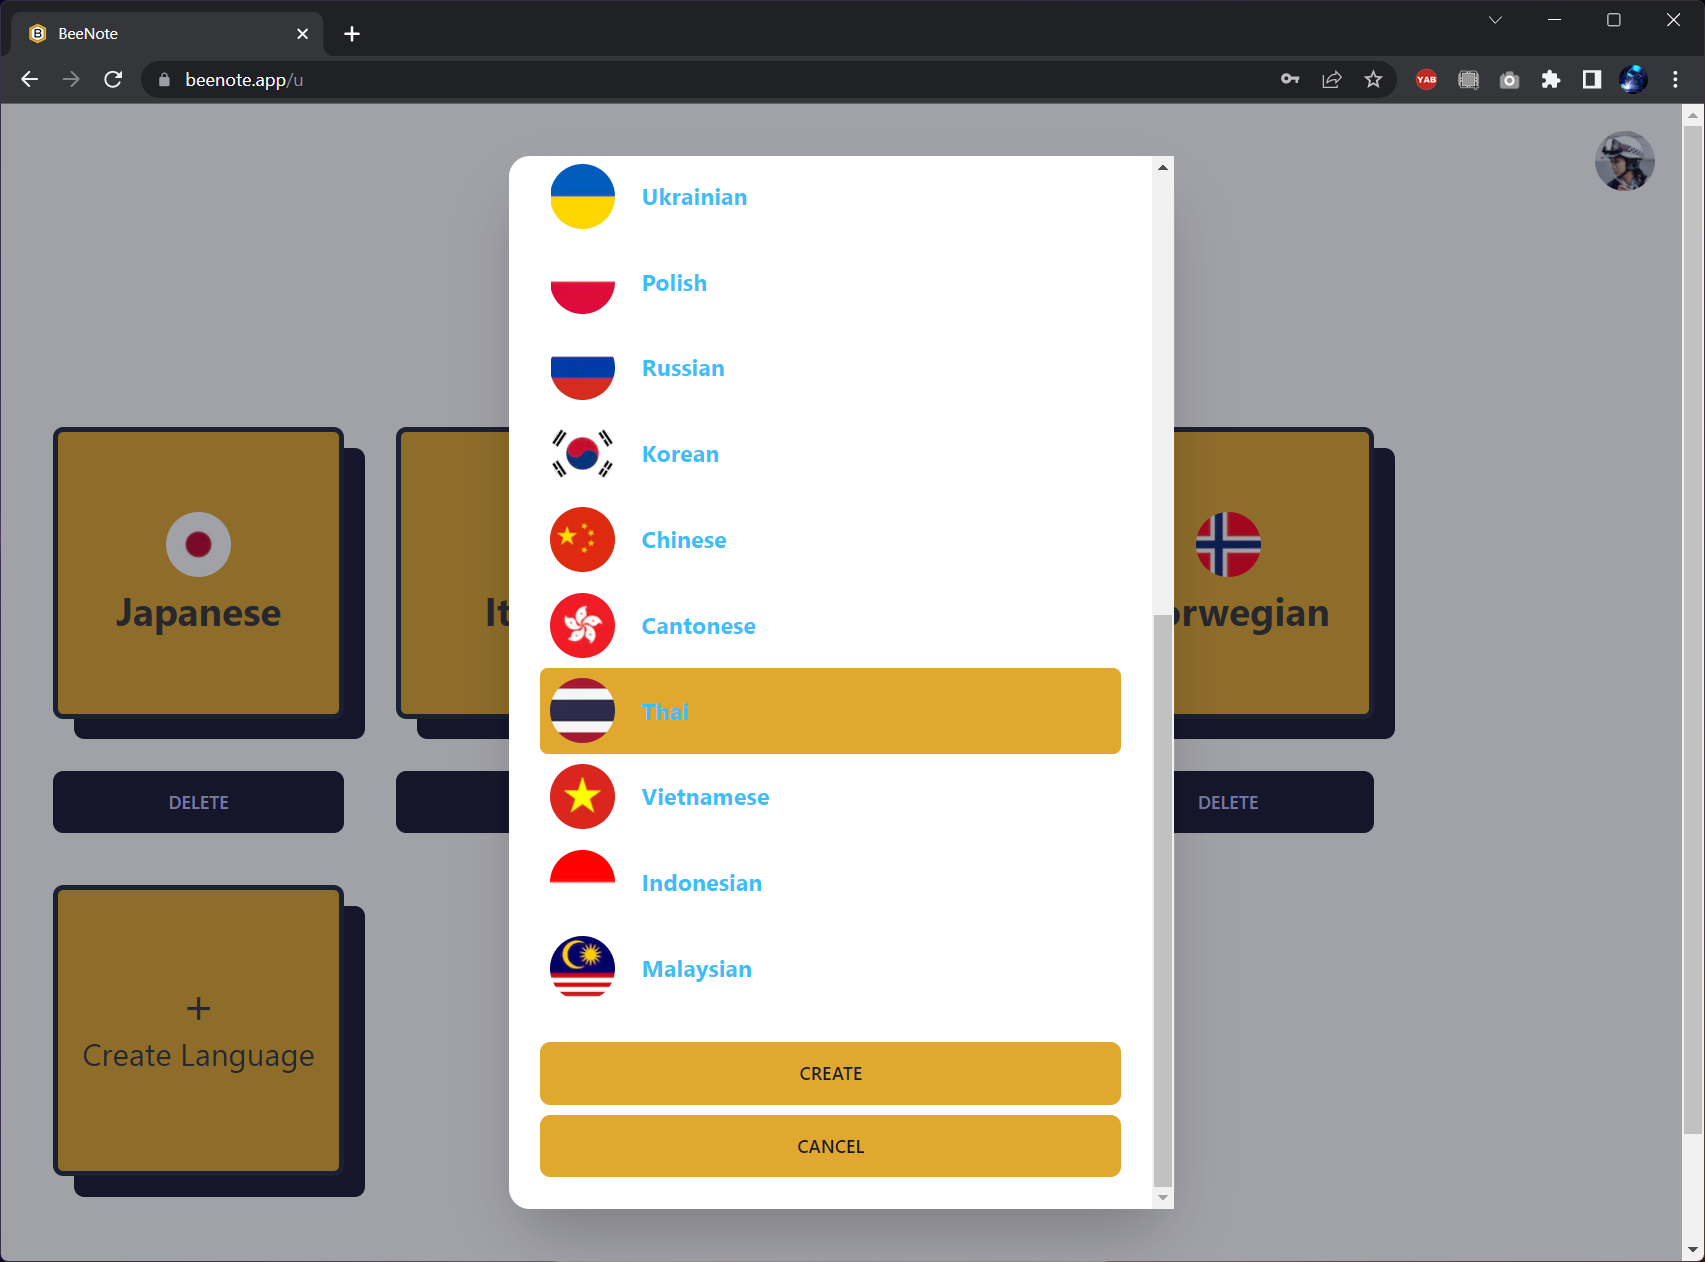
You can create new language notebooks by clicking the “Create Language” button. Languages that haven’t been created will be listed.
Alphabets
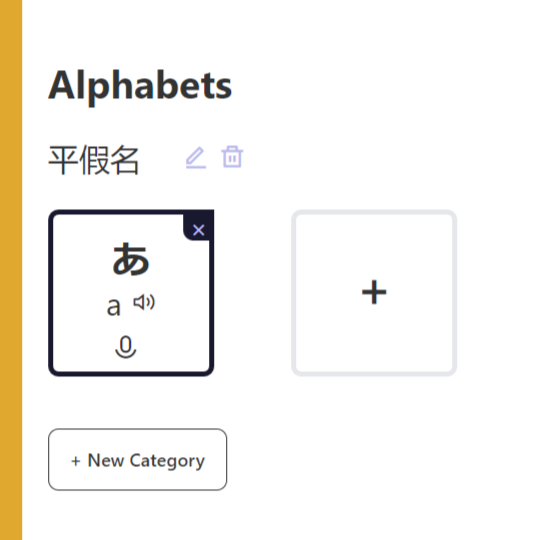
Each language notebook consists of four sections: Alphabet, Vocabulary, Grammar, and Custom notes. Below is the UI for the Alphabet section. For certain languages, like Japanese and Thai, their alphabets can be divided into two or more categories. For example, in Japanese there are hiragana (平仮名) and katakana (片仮名). Thus, this section allows user to create categories for alphabets. Click on the alphabet and pronunciation to modify them. When you unfocus, it will be saved to the server.
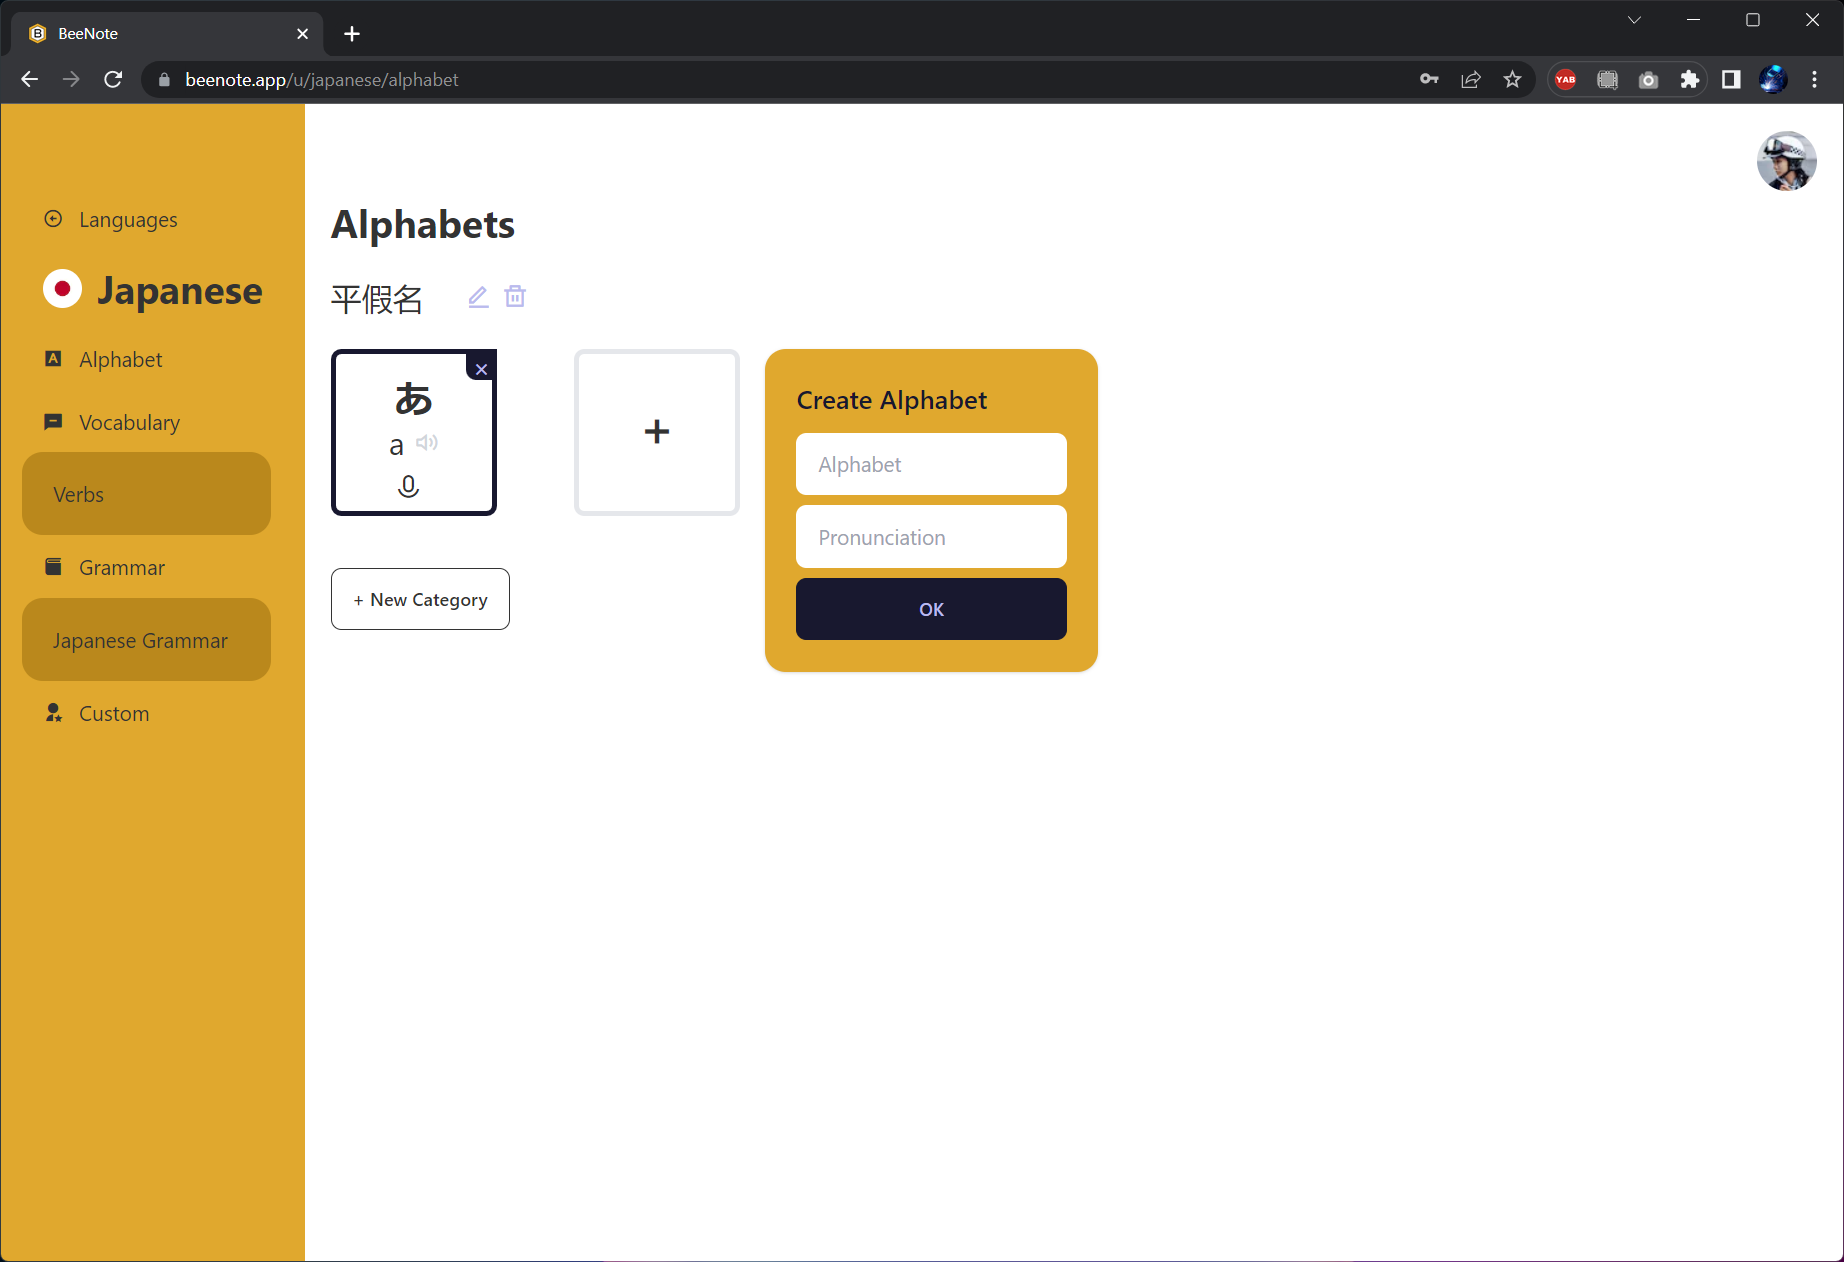
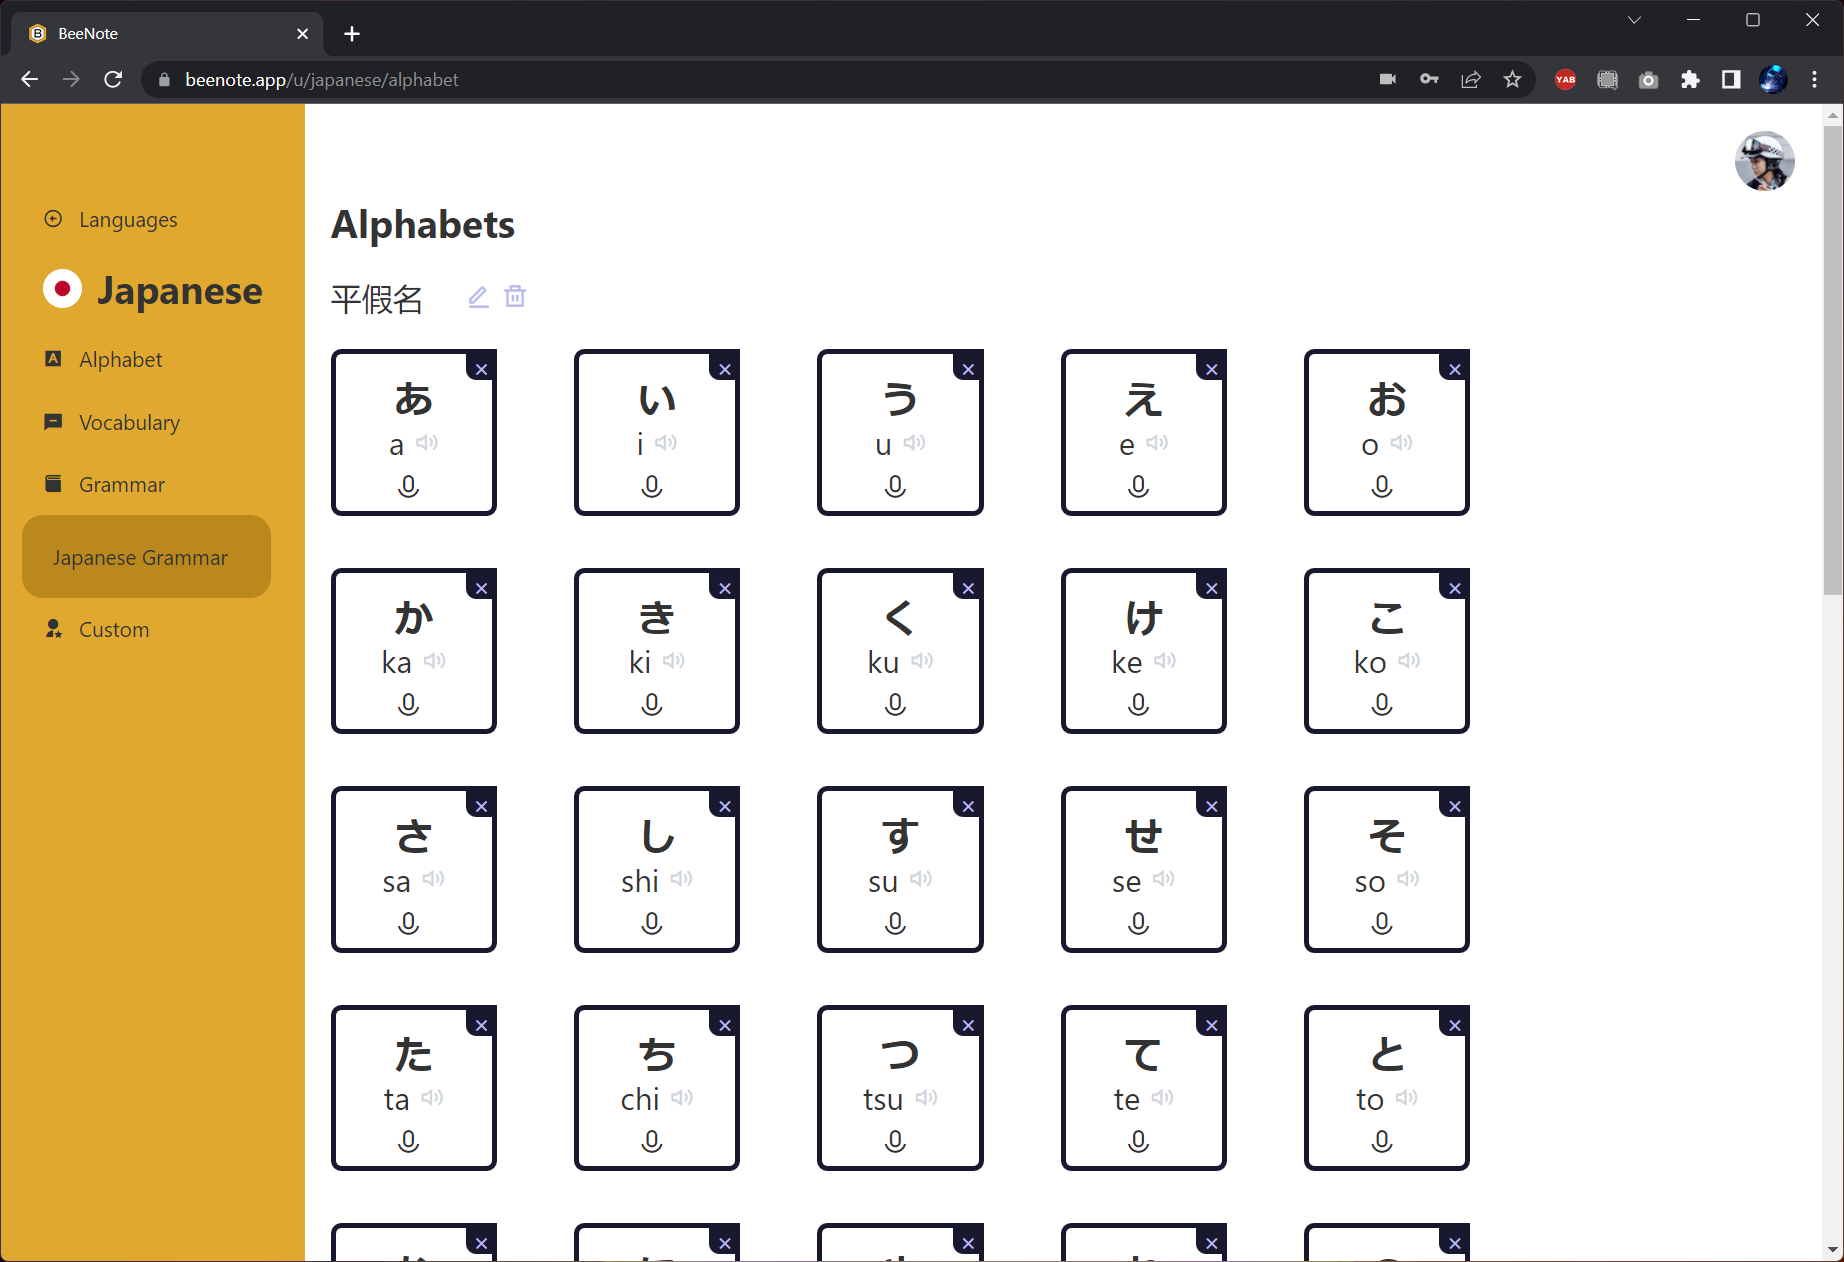
app/u/[lang]/alphabet/page.tsx
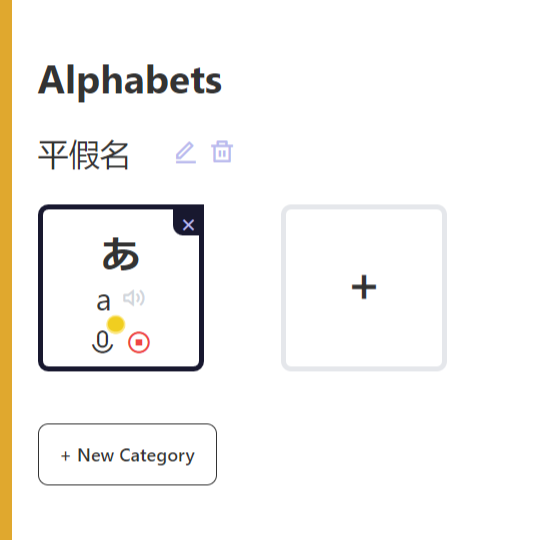
You can click the audio recording button to record pronunciation for that alphabet. Your browser will first ask for permission to use your microphone, and if you agree, recording will be started. When you click the stop button, recording will stop and the audio file will be uploaded to the server. Now you can click the speaker icon to play the audio you just recorded. Record again to replace the audio you saved before.
Vocabularies
In the vocabulary section, you can create vocabulary notebooks. 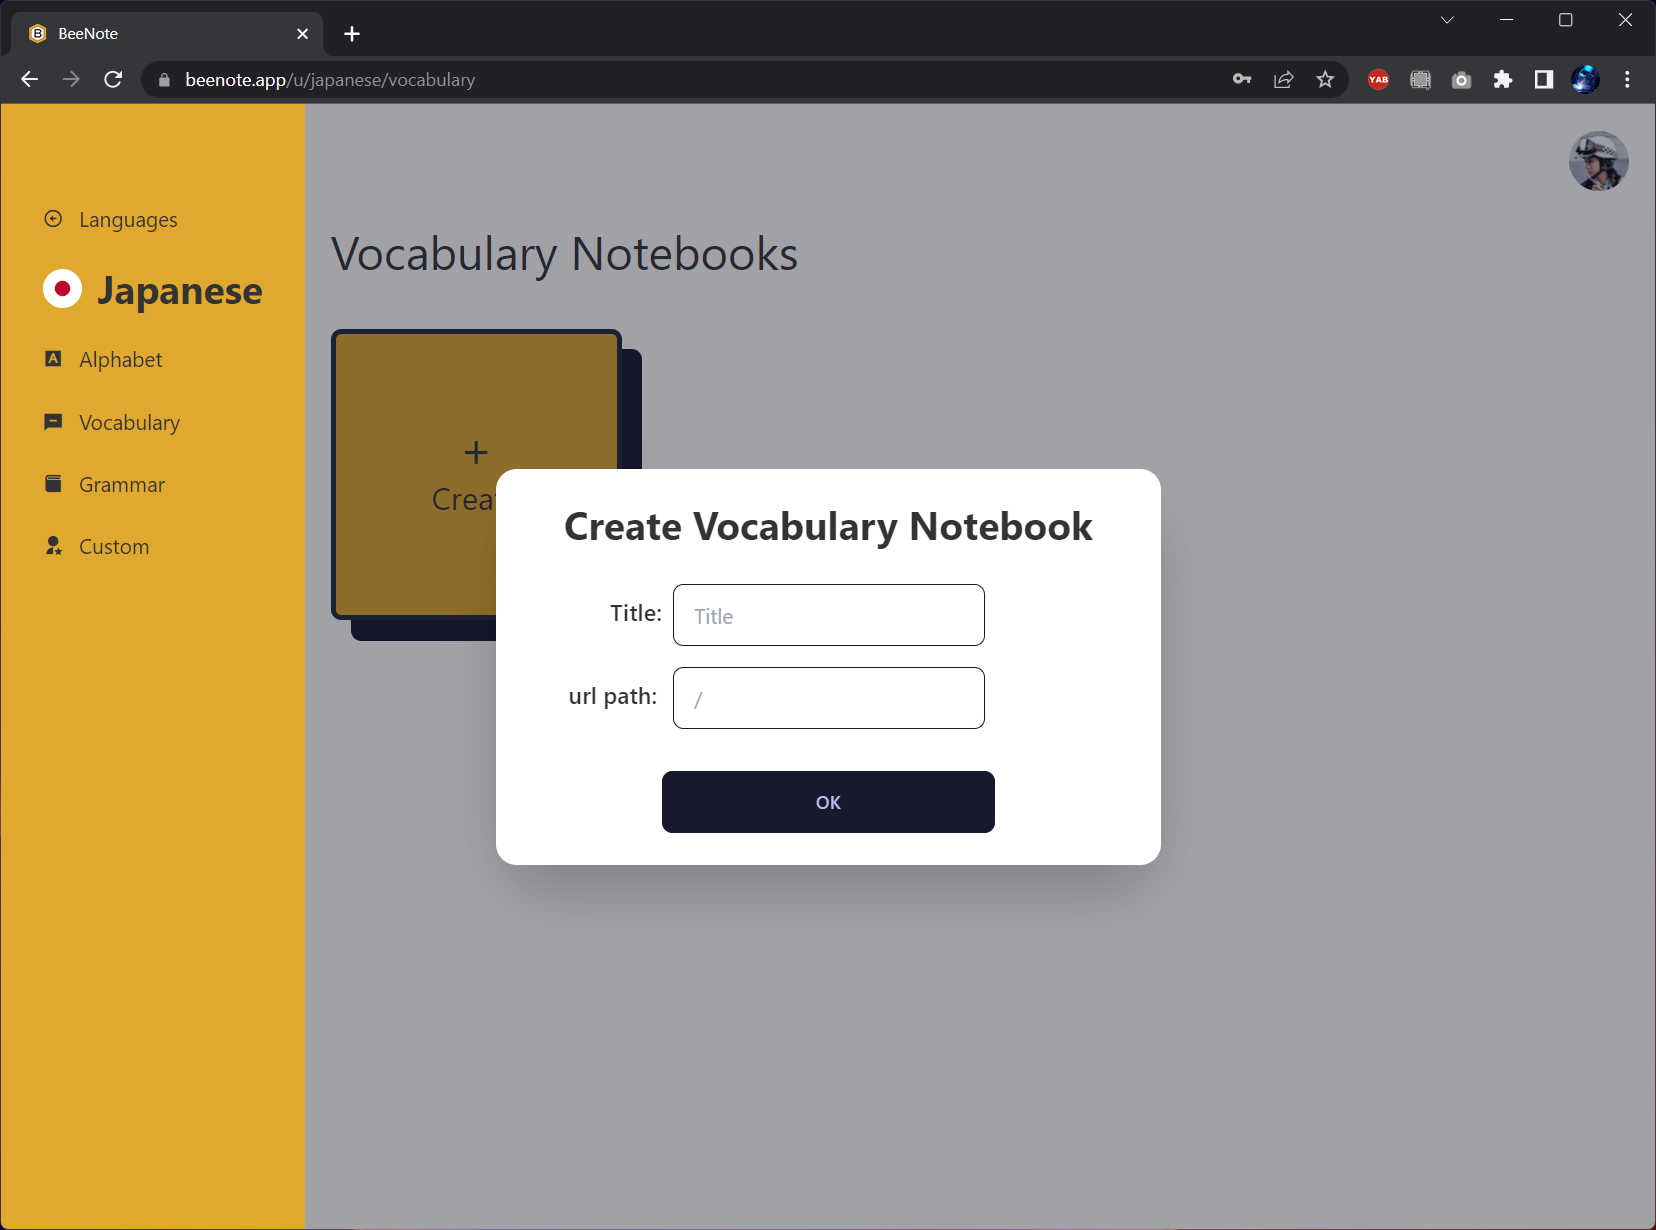
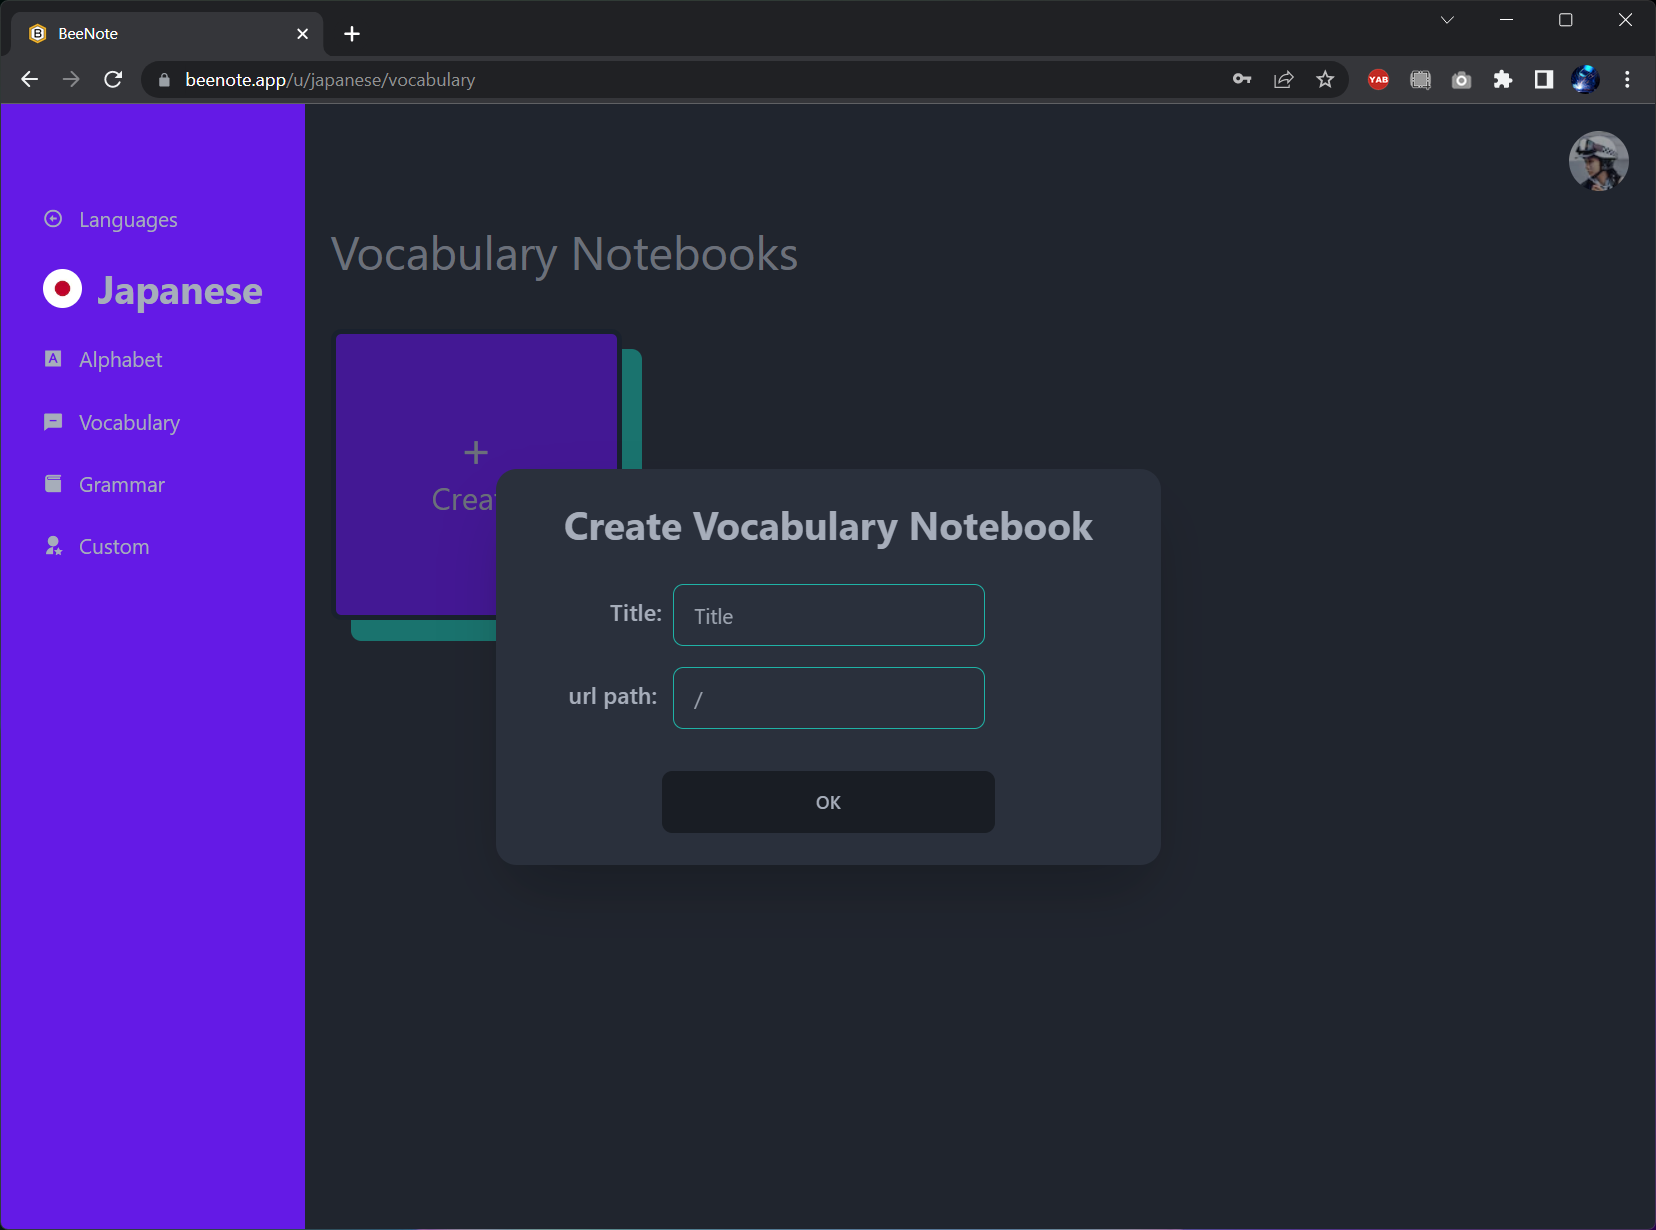
app/u/[lang]/vocabulary/page.tsx
You can add words in the notebook. As with alphabets, you can record audios. Here you can also upload images for visualization. Hovering over the image icon will show the image. 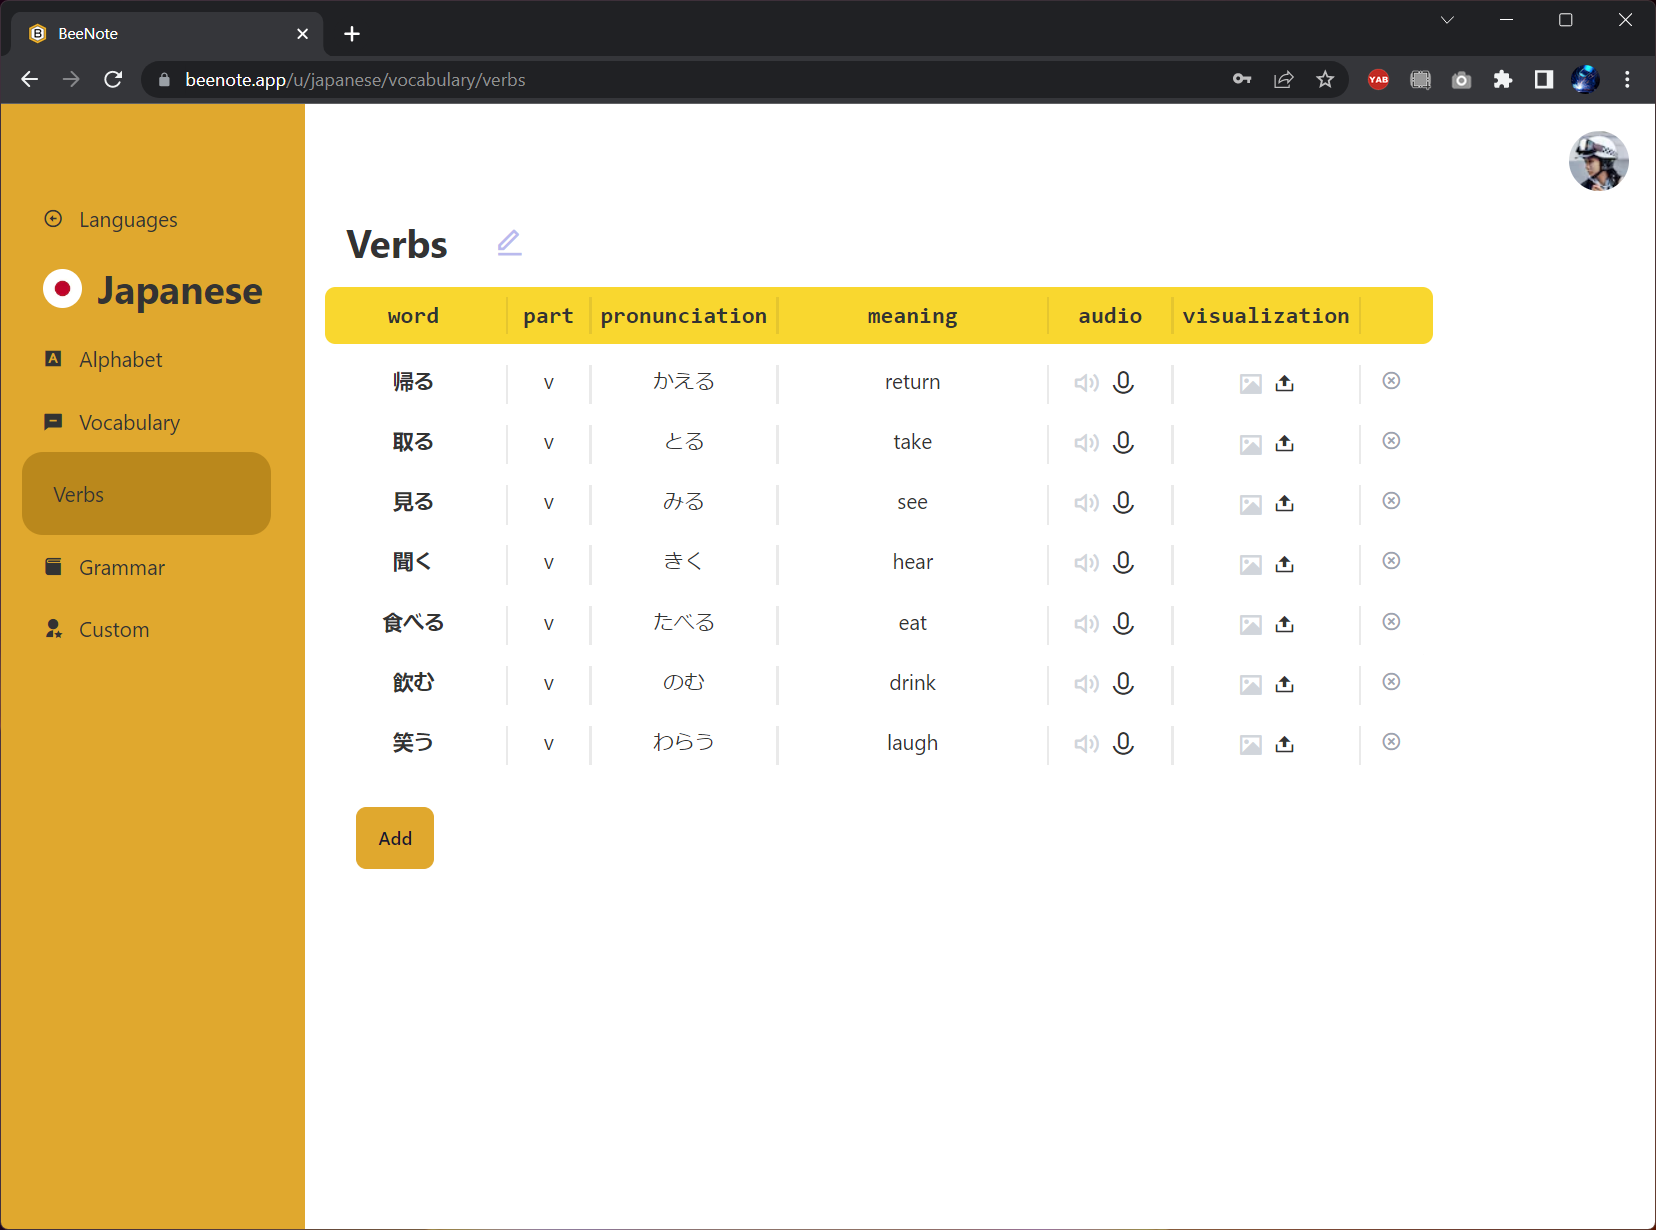
app/u/[lang]/vocabulary/[url]/page.tsx
Grammars
The Grammar section allows you to create grammar notebooks. The grammar notebook is an editor implemented with Tiptap. Common typefaces like marks, headings, paragraphs and quotes can be added. You can also include tables, images and youtube videos. 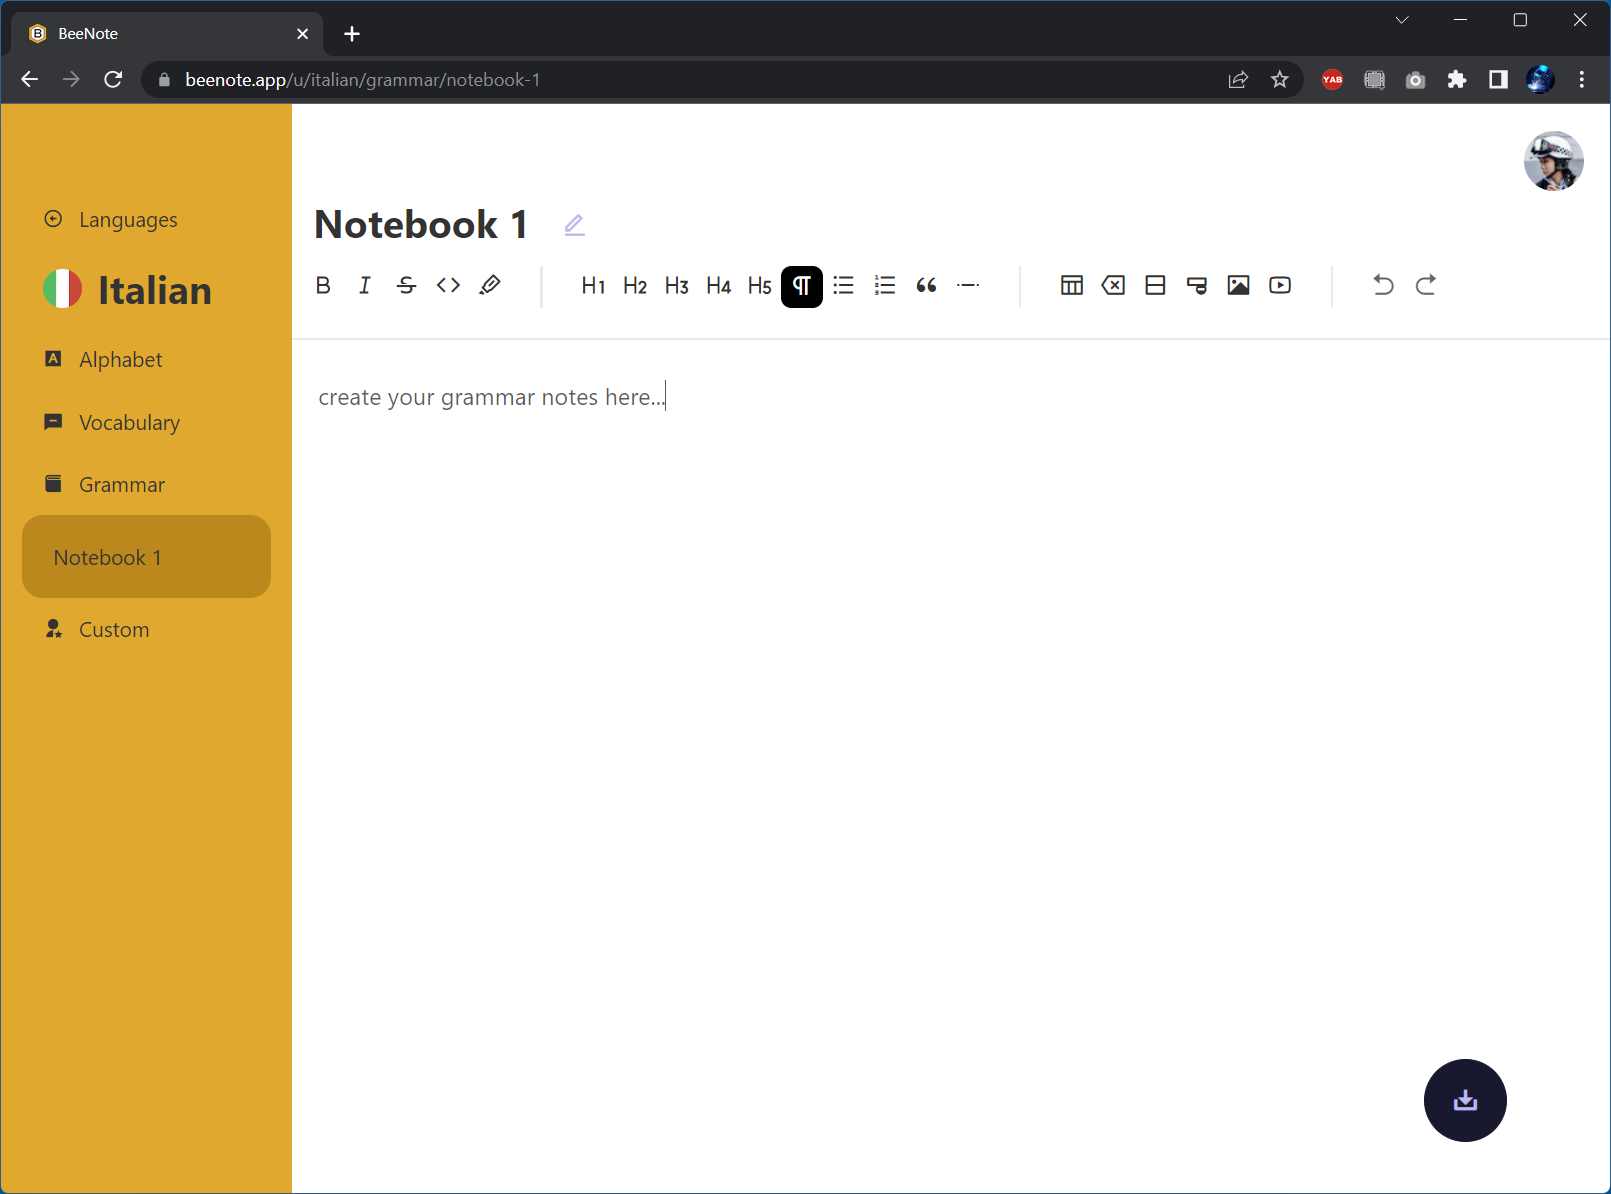
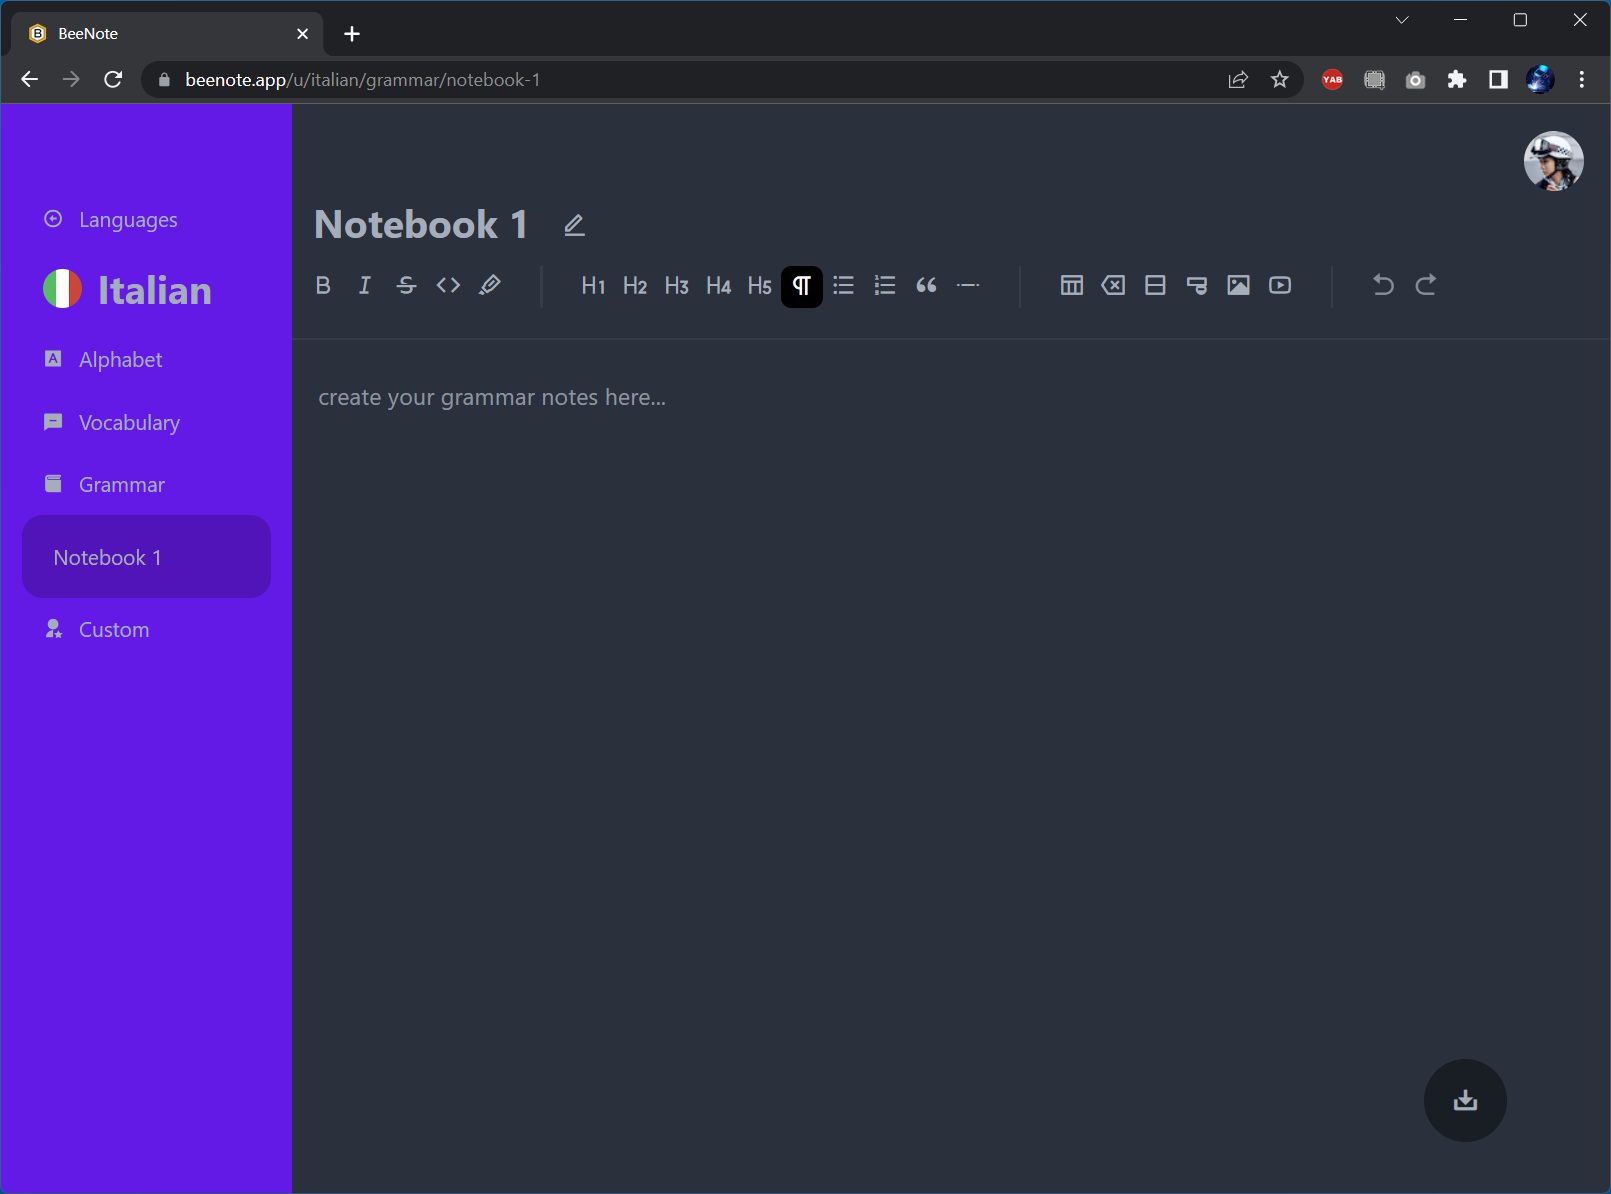
app/u/[lang]/grammar/[url]/page.tsx | app/(utils)/Editor.tsx
Custom Notes
Finally, you can add custom notes that may not fall into the categories of alphabet, vocabulary, and grammar, for example maybe you want to add some learning resources, or a summarization of common colloquial expressions. Currently the implementation is basically the same as for the grammar section, namely a rich text editor.
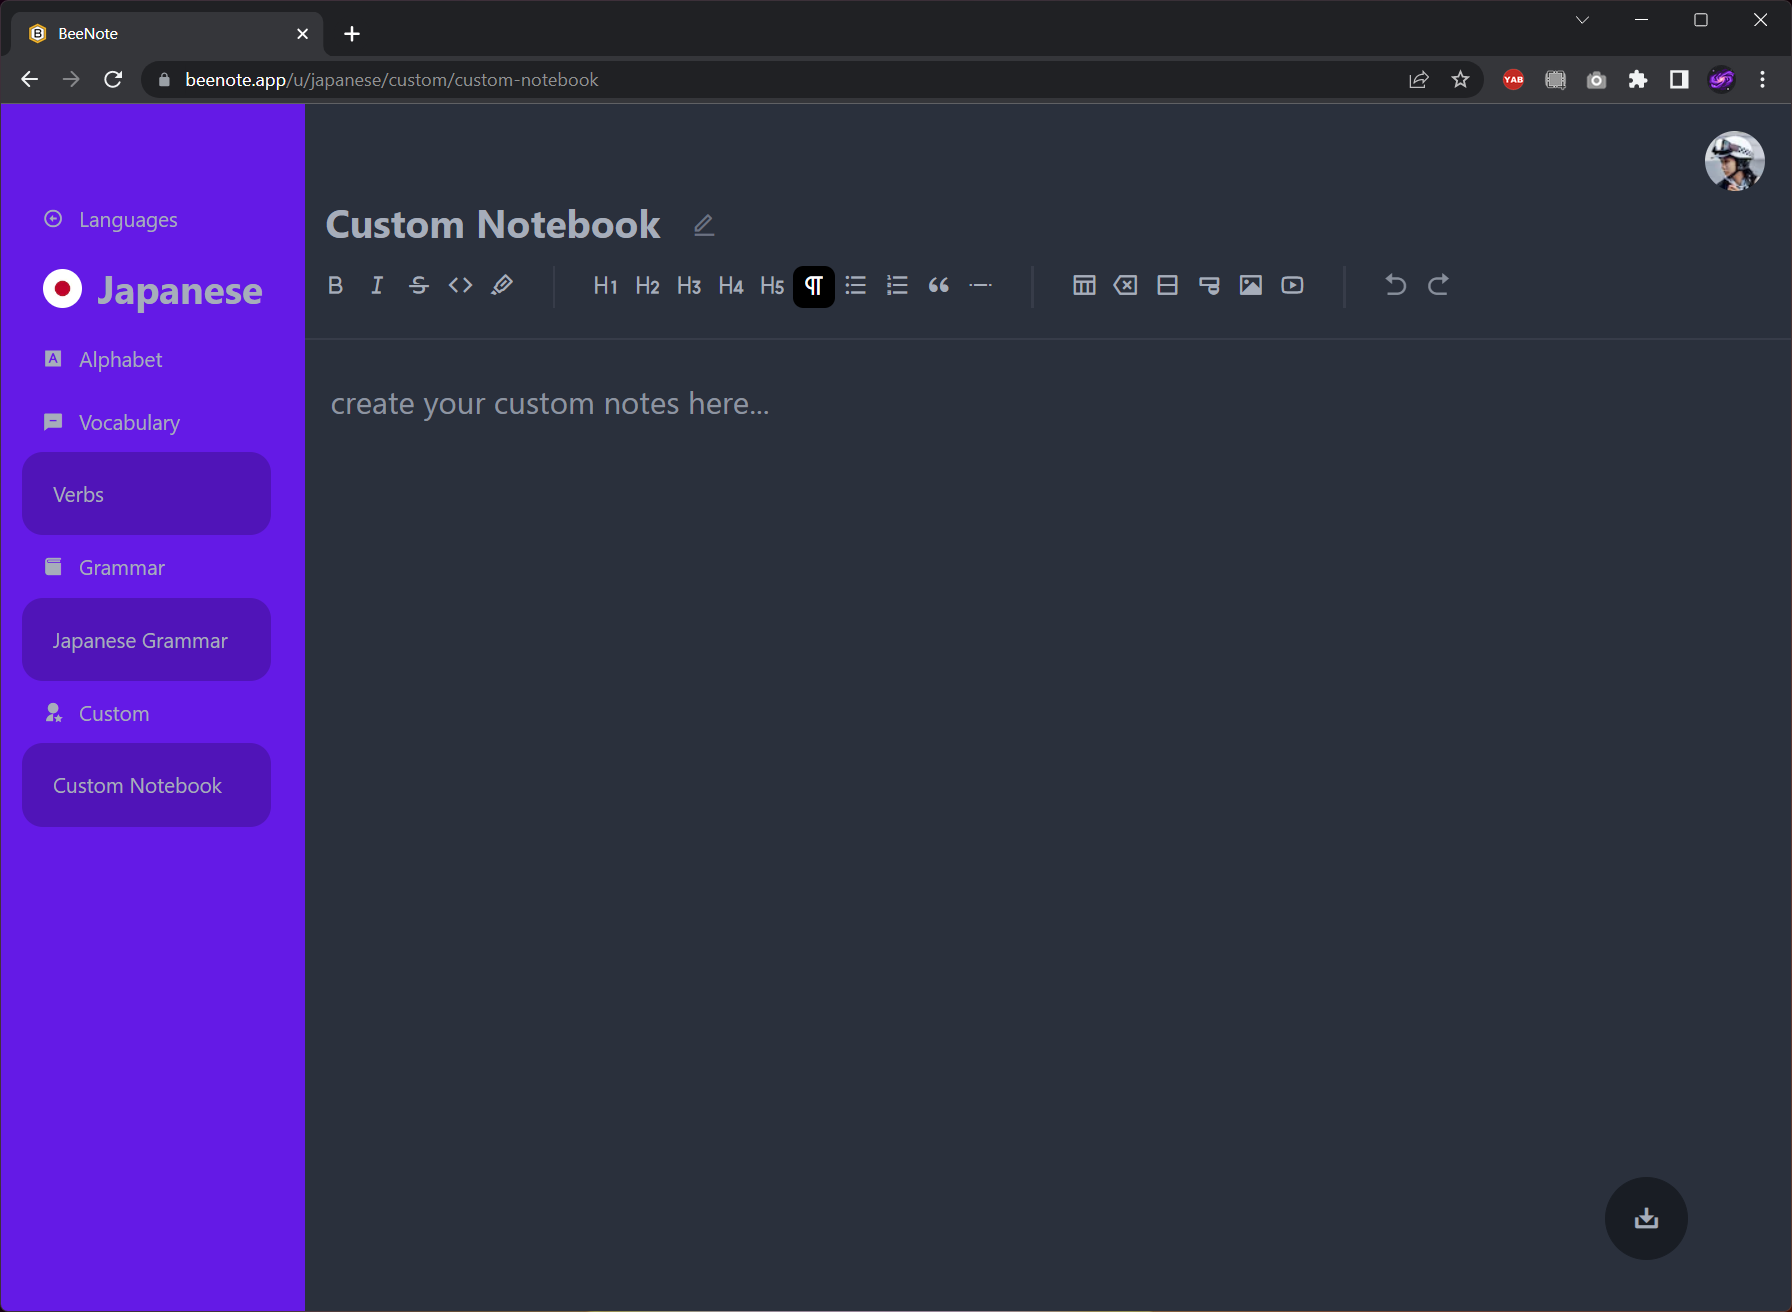
app/u/[lang]/custom/[url]/page.tsx
Profile and Settings
Once you have logged in, a profile icon will appear at the top right corner. Click the icon to see a dropdown mennu. You can navigate the website, go to your profile, and switch between light and dark themes. The theme info is saved to localStorage in your browser, so that the next time you visit the website, it will get the info from the localStorage, and render in the same theme you last saved. It is implemented with React’s useContext hook. 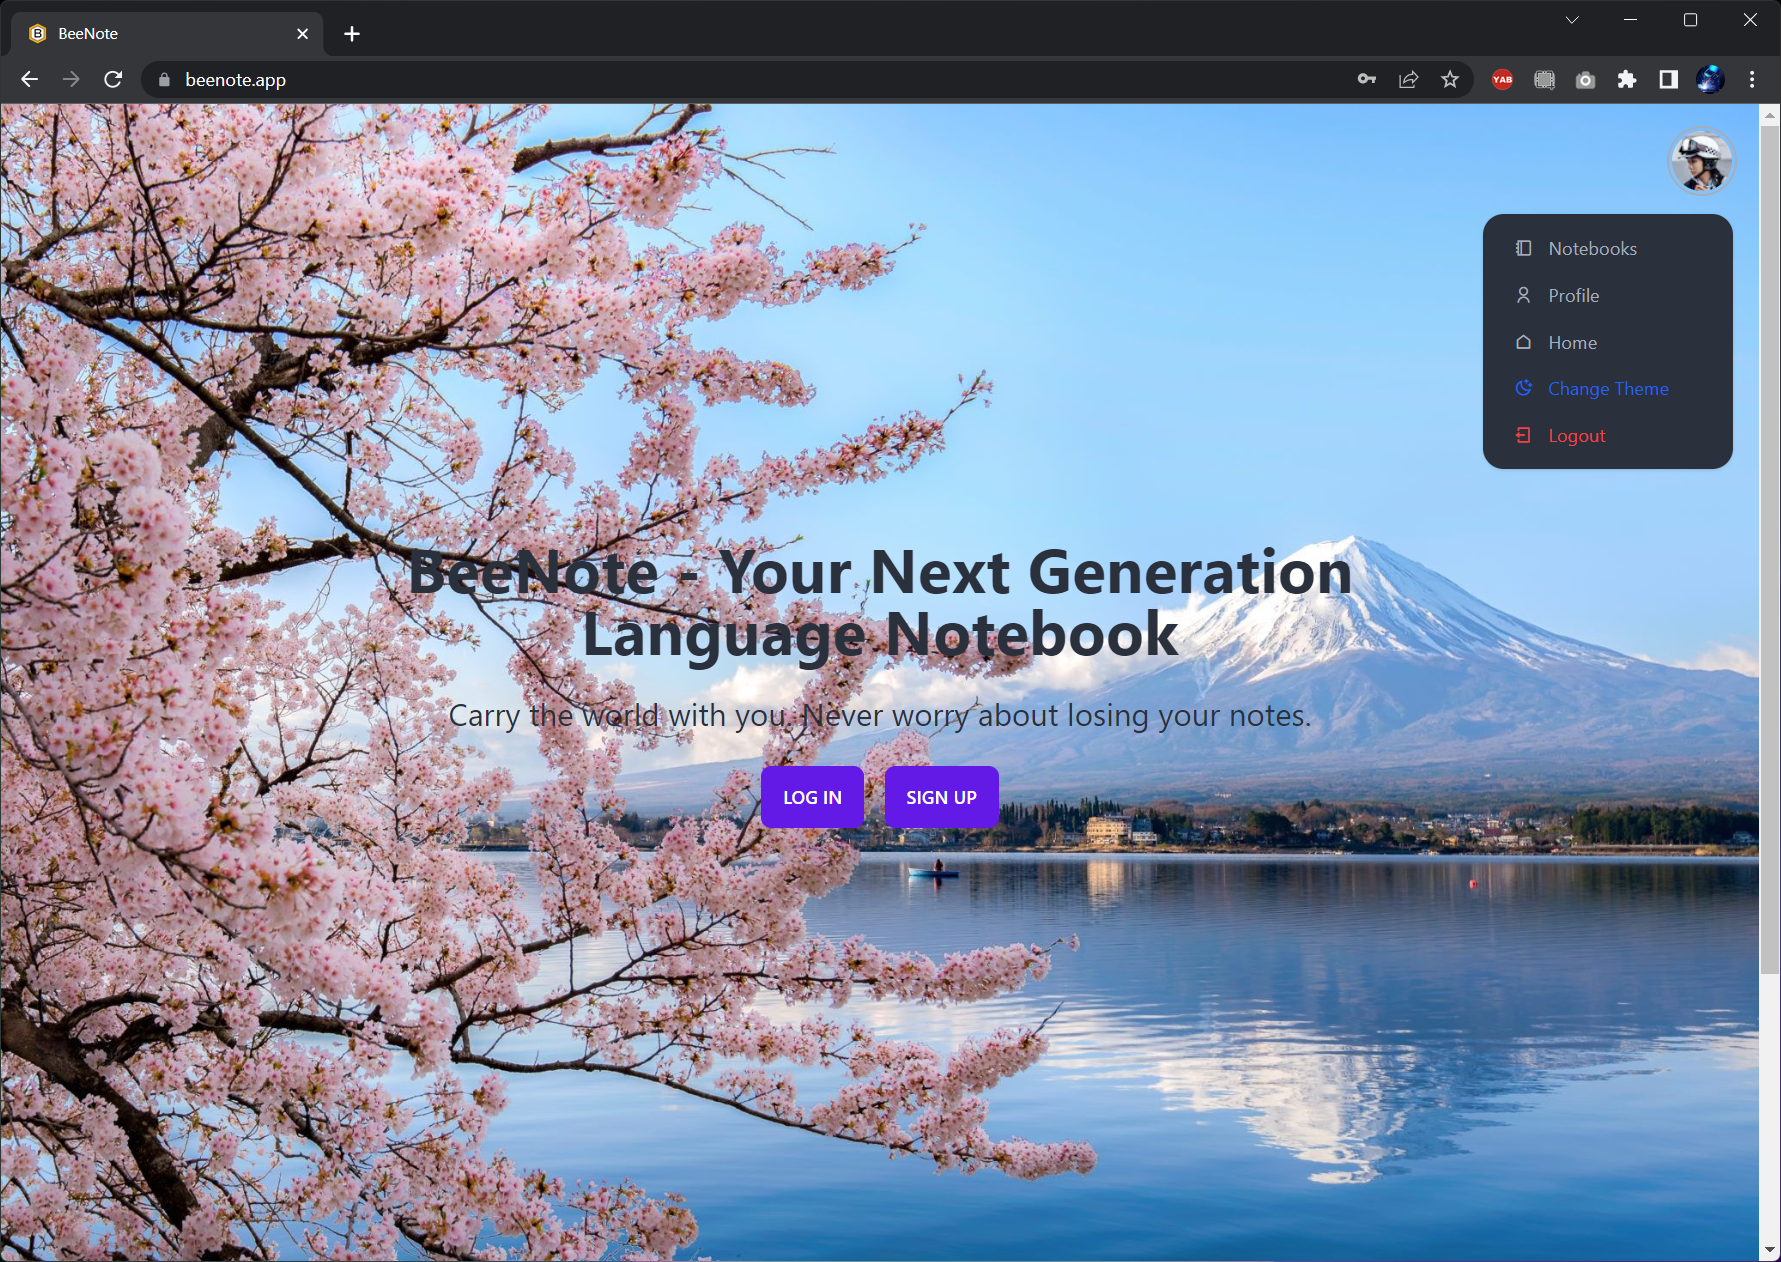
app/(utils)/ProfileDrop.tsx
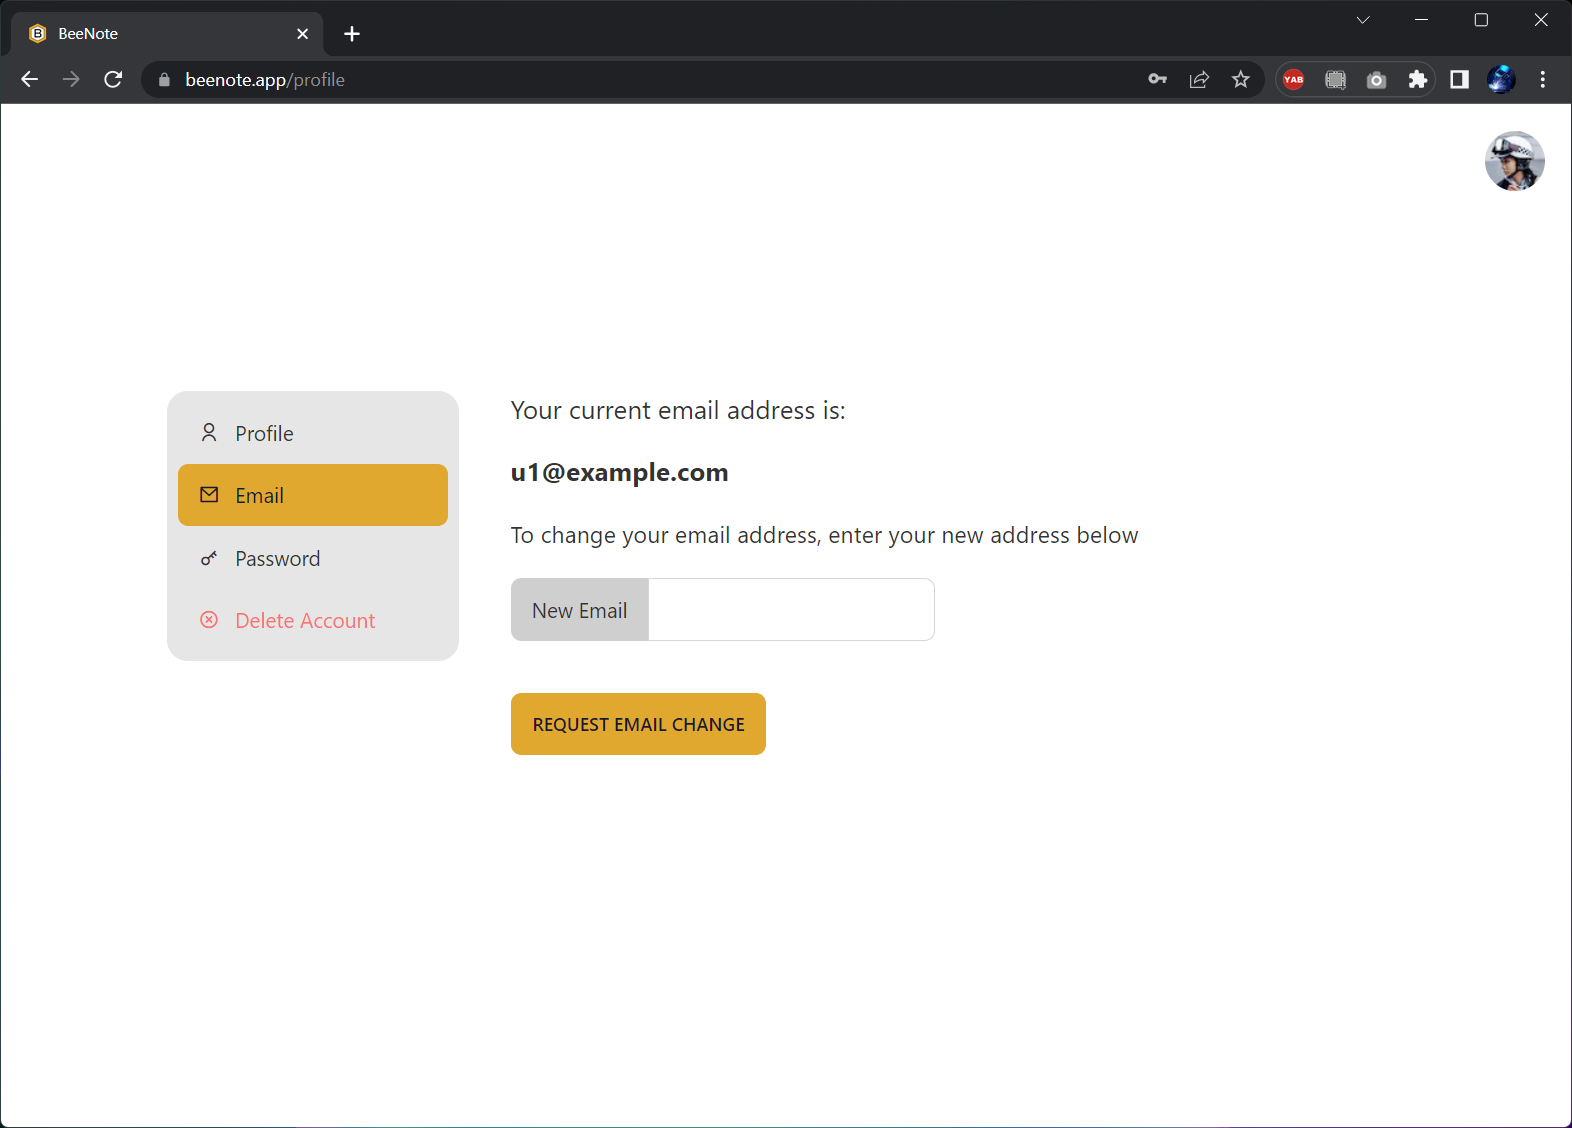
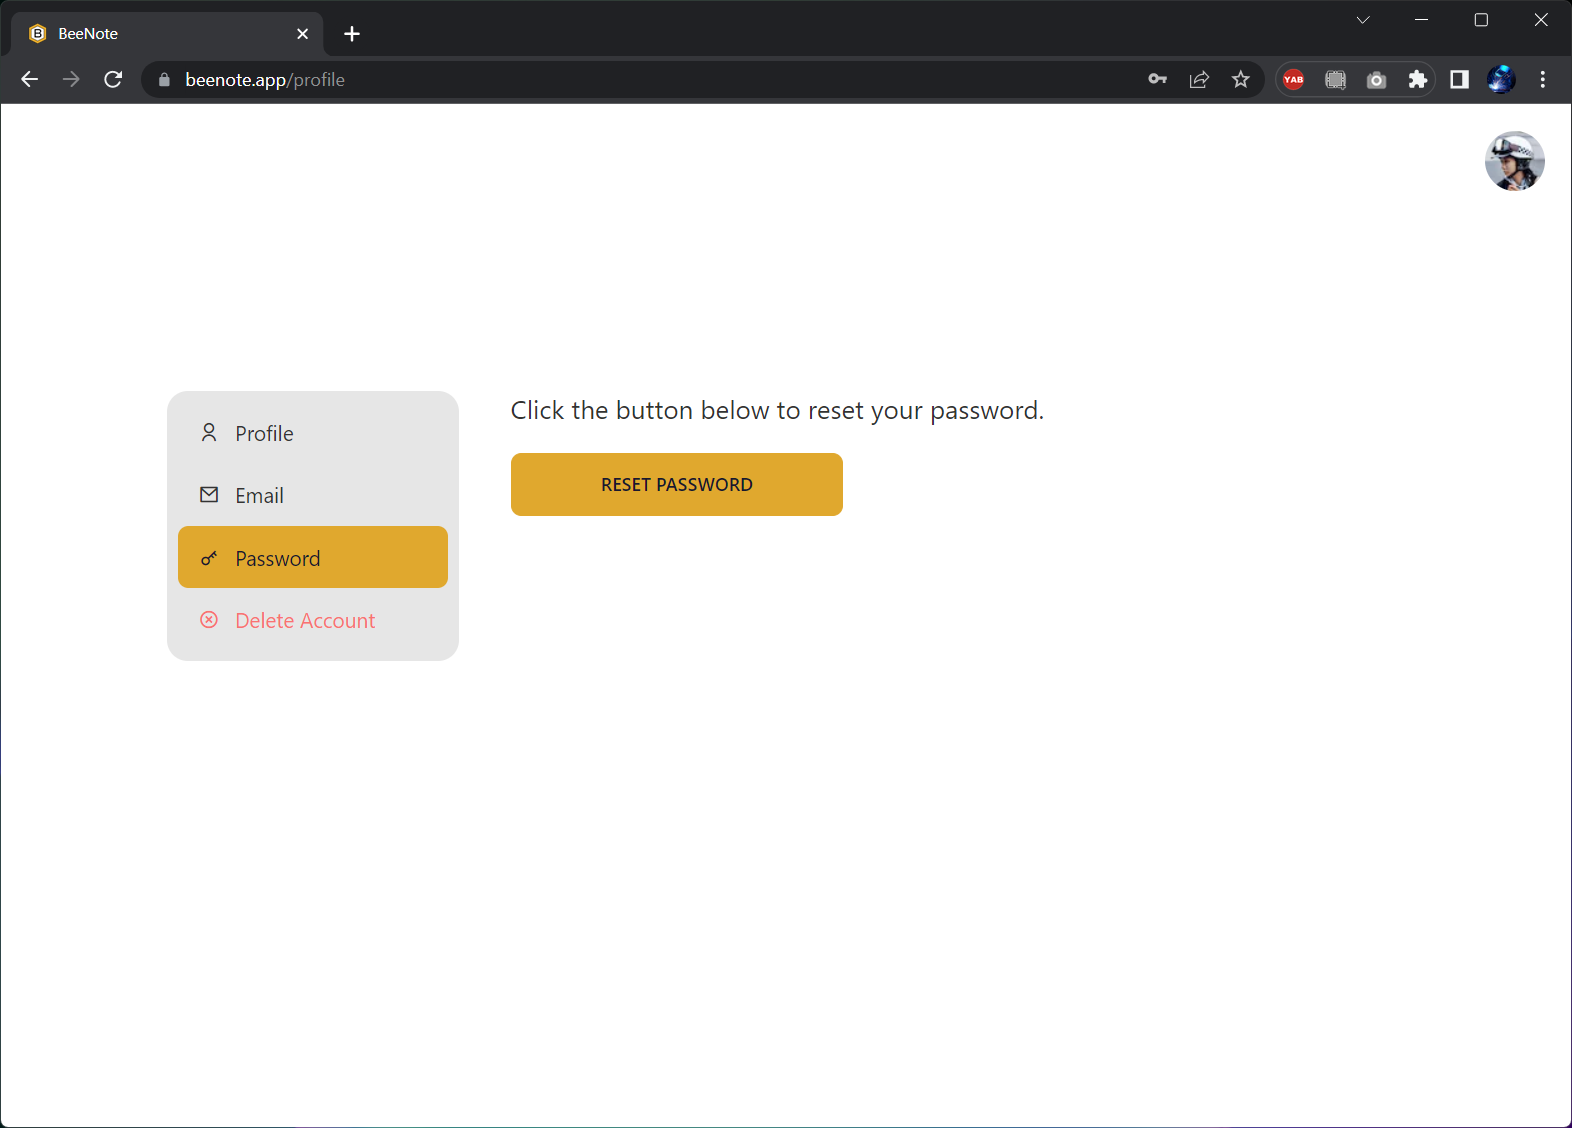
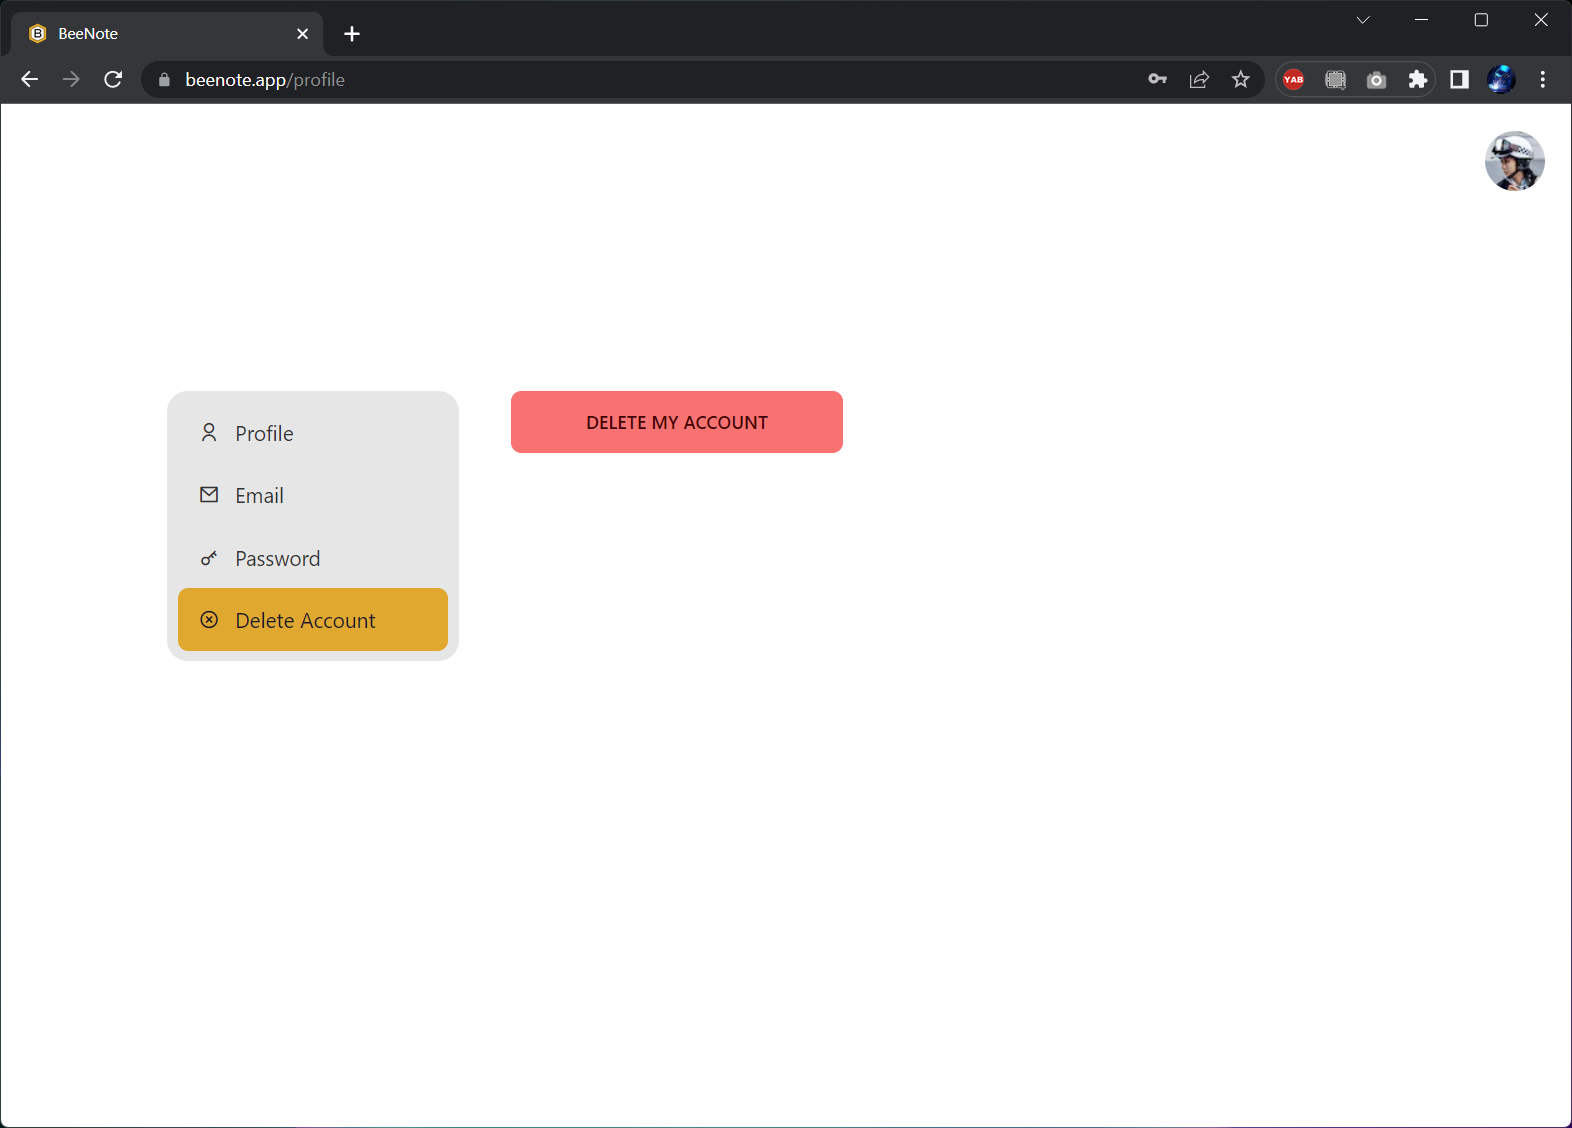
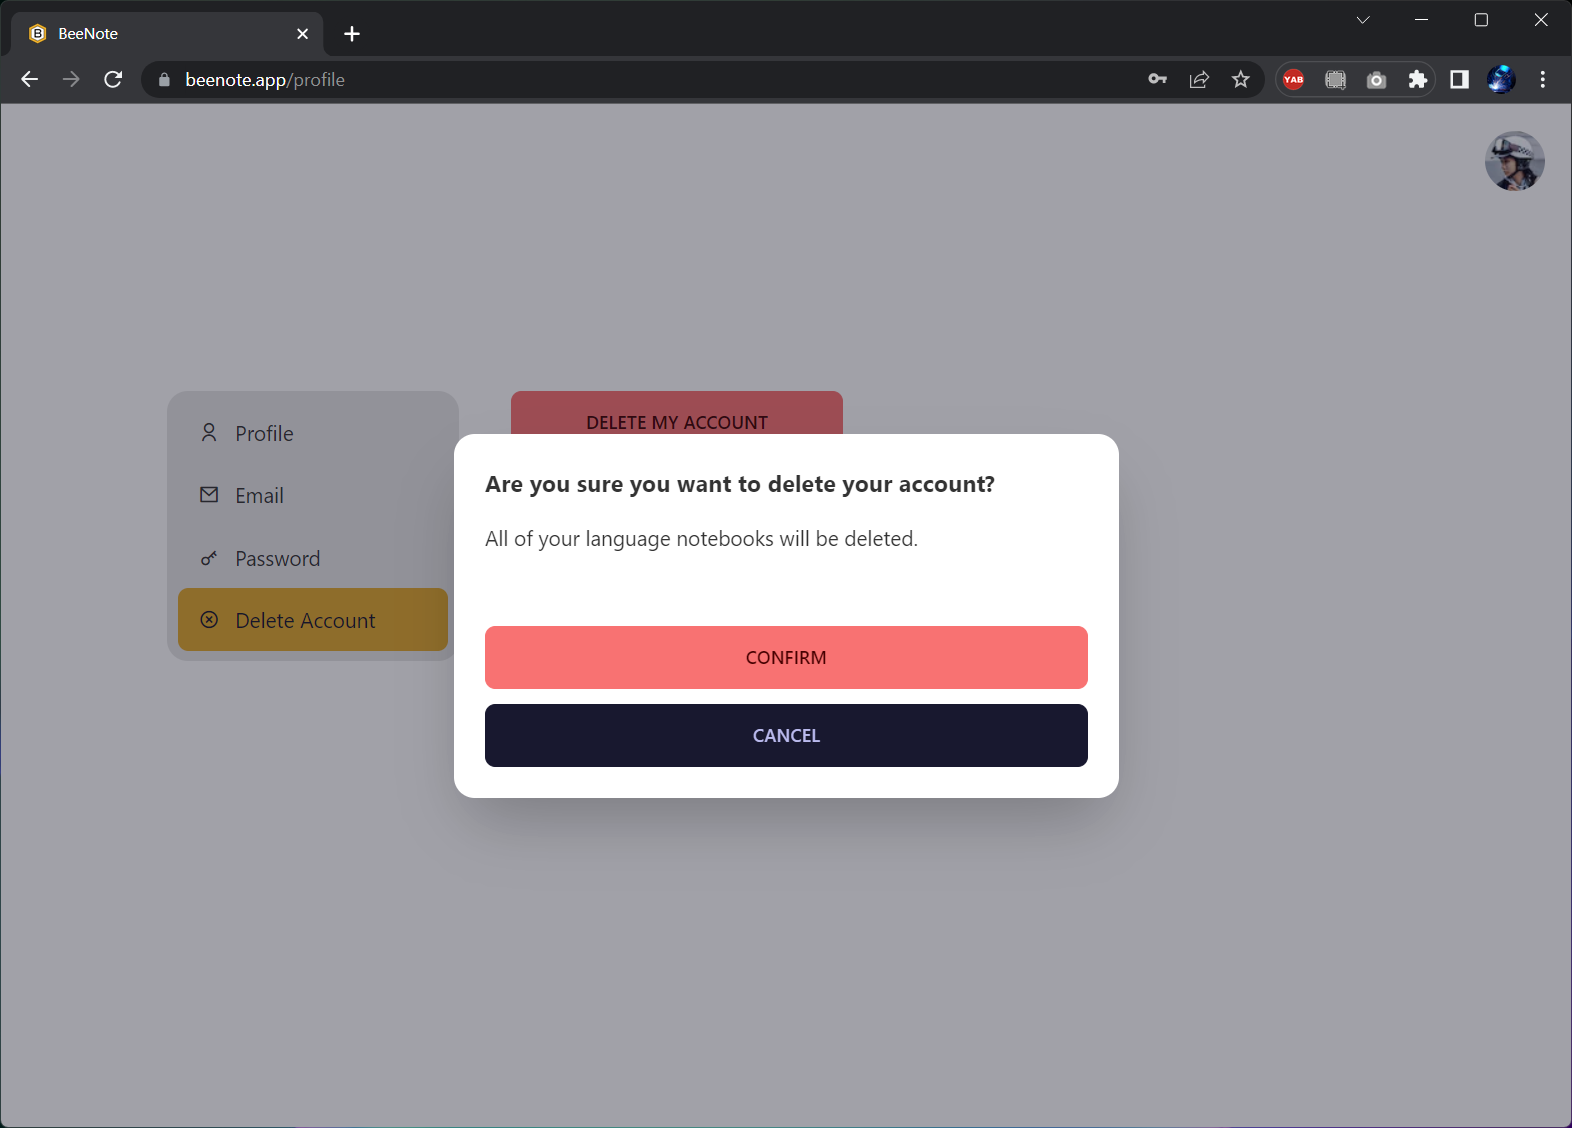
In the profile page, you can modify your name and upload avatar image. You can also change email and password, upon which emails will be send to your current email address. The email sending service is provided by AWS SES. Finally, you can also delete your account. 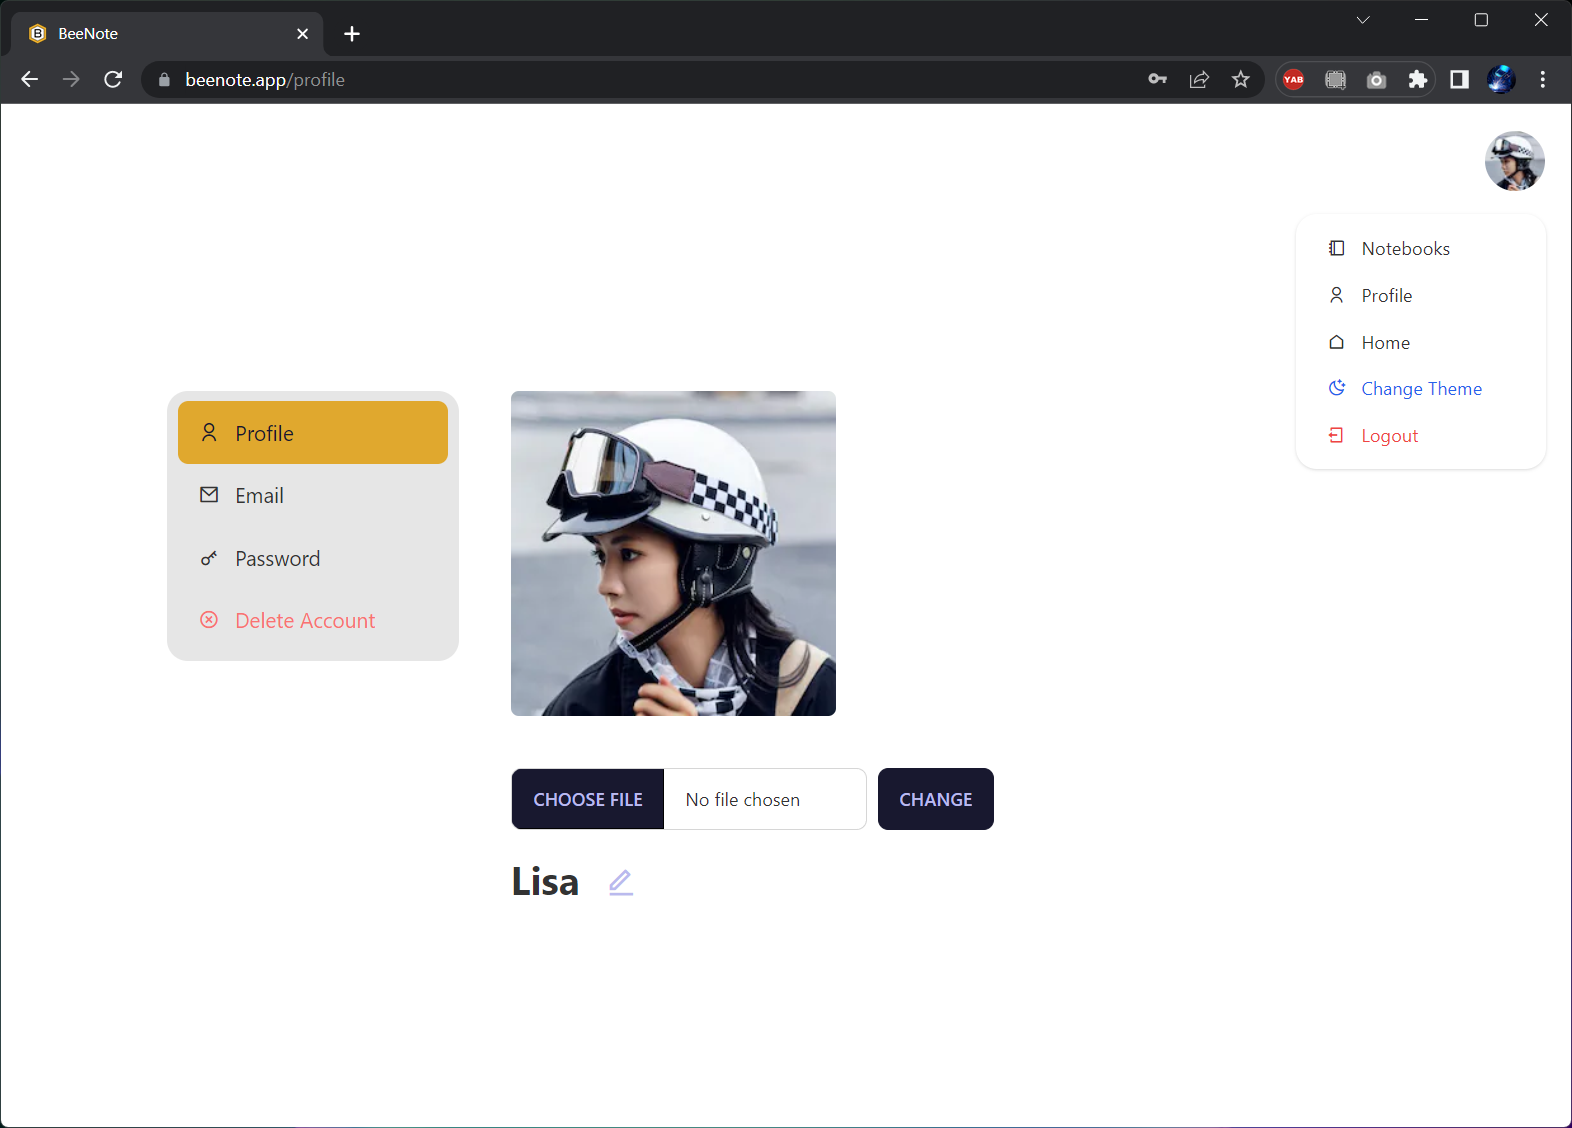
app/profile/page.tsx
Tech Stack
Let me briefly mention some of tools I used for building this application. I may talk about them in detail in future posts. These are all awesome softwares that you don’t want to miss.
- First, Next.js 13 offers app directory for routing, server-side rendering by default, caching, image optimization, client-side navigation and more.
- For CSS, after using Tailwind, I never go back to write plain CSS again. DaisyUI is a component library that offer pre-made Tailwind components like buttons, inputs, modals, dropdowns, cards and so on.
- I use PocketBase for the backend (database + user authentication). It is an excellent open sourced BaaS project that is both lightweight and fast (being written in Go).
- I use AWS SES for email sending service. Among other competitors like mailjet, sendgrid, sendinblue and mailgun, SES offers more free usage limit and better experience.
- Finally, the app is deployed on Vercel, while the backend is hosted on fly.io.
Conclusion
That’s all for now! If you haven’t done so, why not give it a try at
and tell me what you think about it. If you like this project, consider giving a star to the GitHub Repo or simply share it with other people, so that more people can know it.
I would like to mention that this app mainly serves as a demo for Next.js 13 + PocketBase. Though it already involved a lot of hard work, its UI and functionalities are still not perfect enough for commercial applications. But I hope you could see from this project how you can use the same awesome tools and libraries to build applications.
Finally, I would like to discuss some ideas for startups around language learning. While this demo hardly has any potential to make profits because little people is going to pay for a note app, other ideas could be profitable. First, a social media could be built around language learning. Second, large AI models similar to ChatGPT could offer interactive ways of language learning. For example, instead of responding to user’s questions, AI could actively ask the user for responding to questions in a foreign language, to improve the user’s expression skills. AI could help with translation, conversation, memorization in a more interactive and engaging way. In any case, I expect that in the future, learning a foreign language can be much easier than today!
Comments powered by Disqus.